Harley WLA Lend-Lease with mortar in 1/72 - scratch build
Hi,
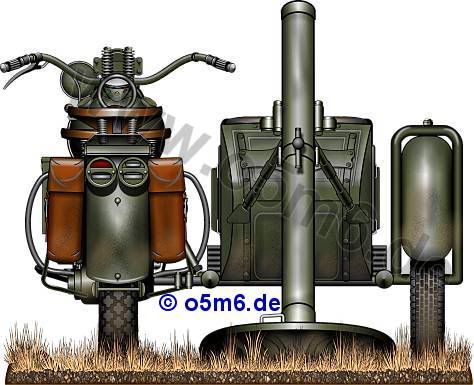
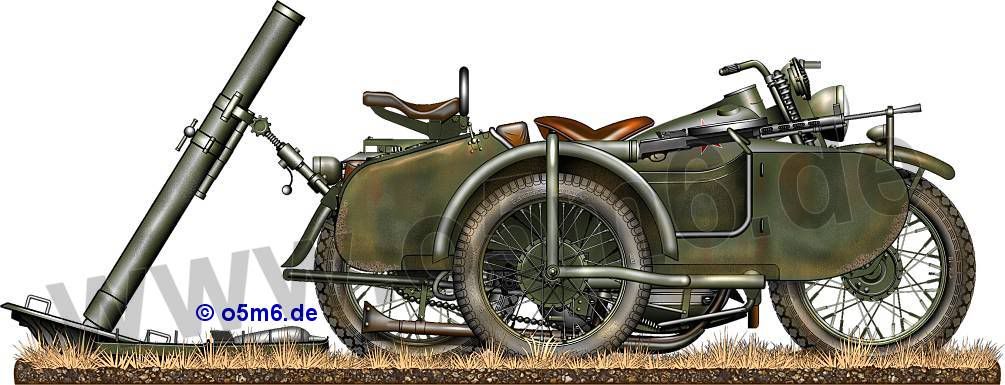
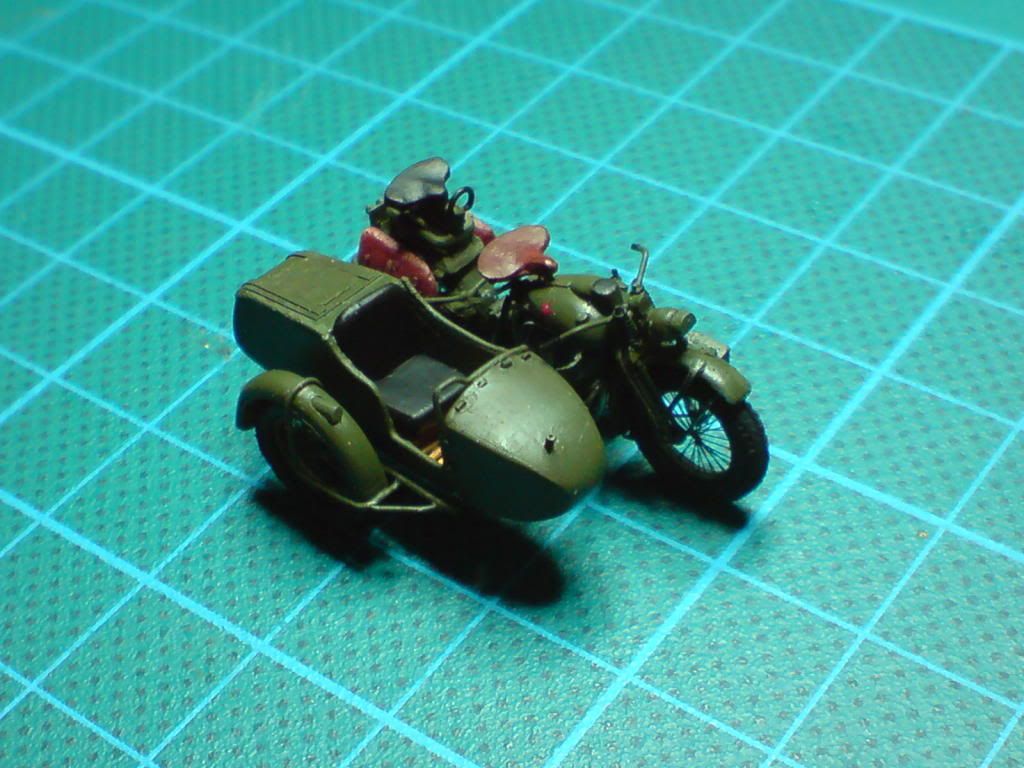
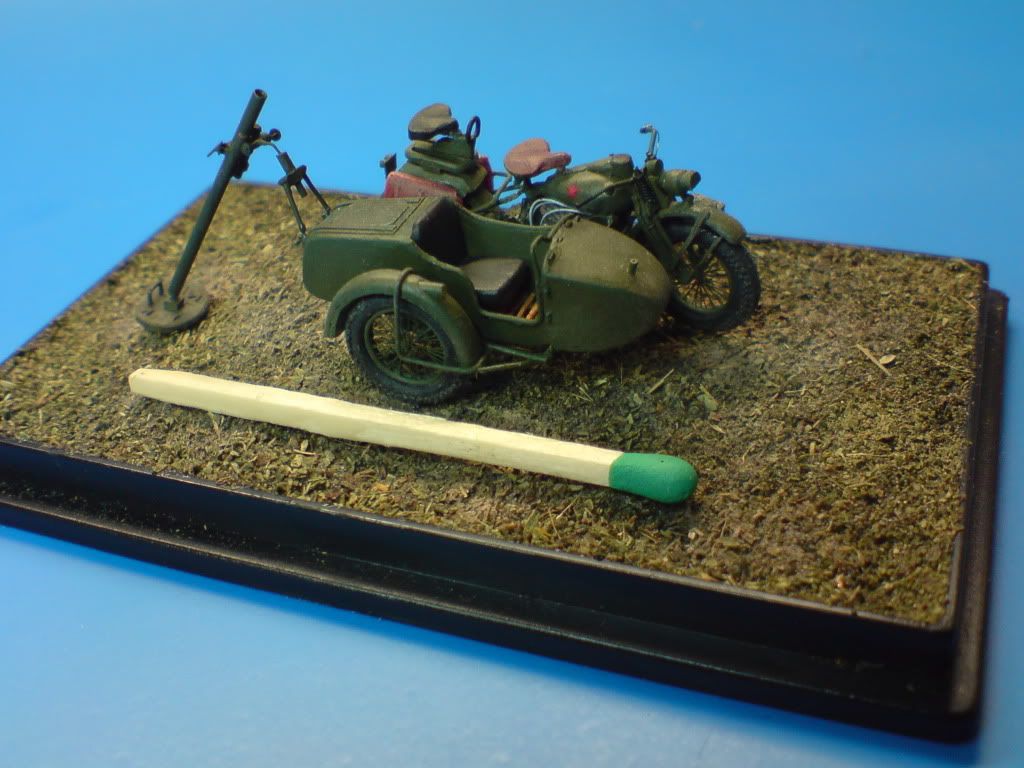
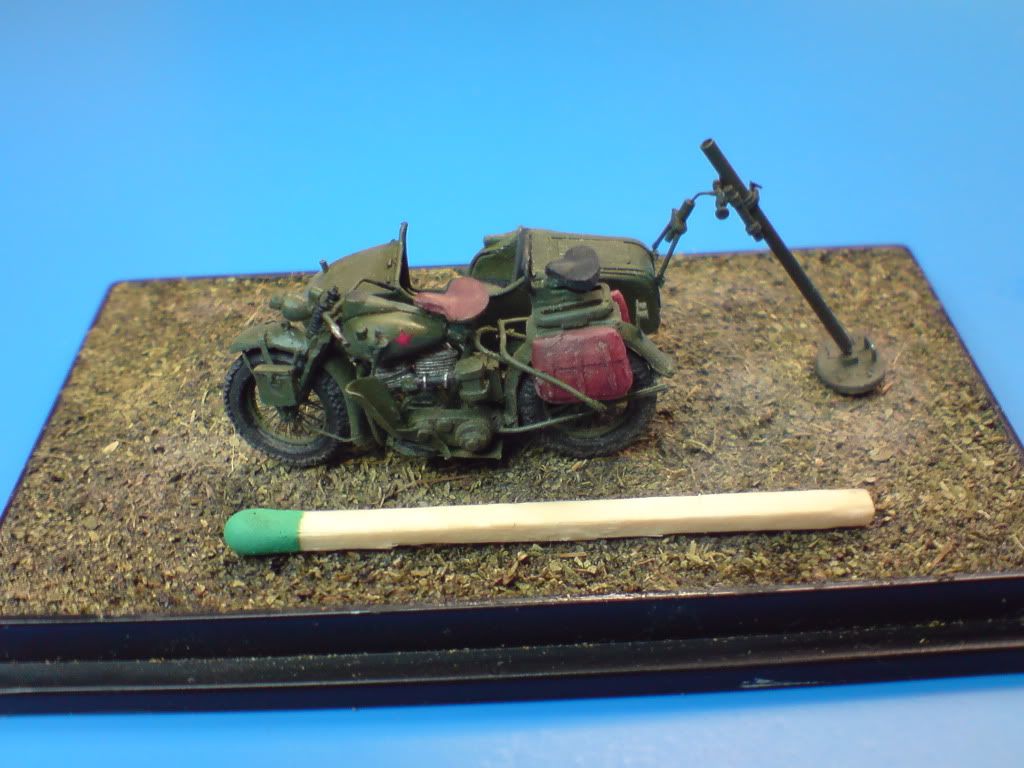
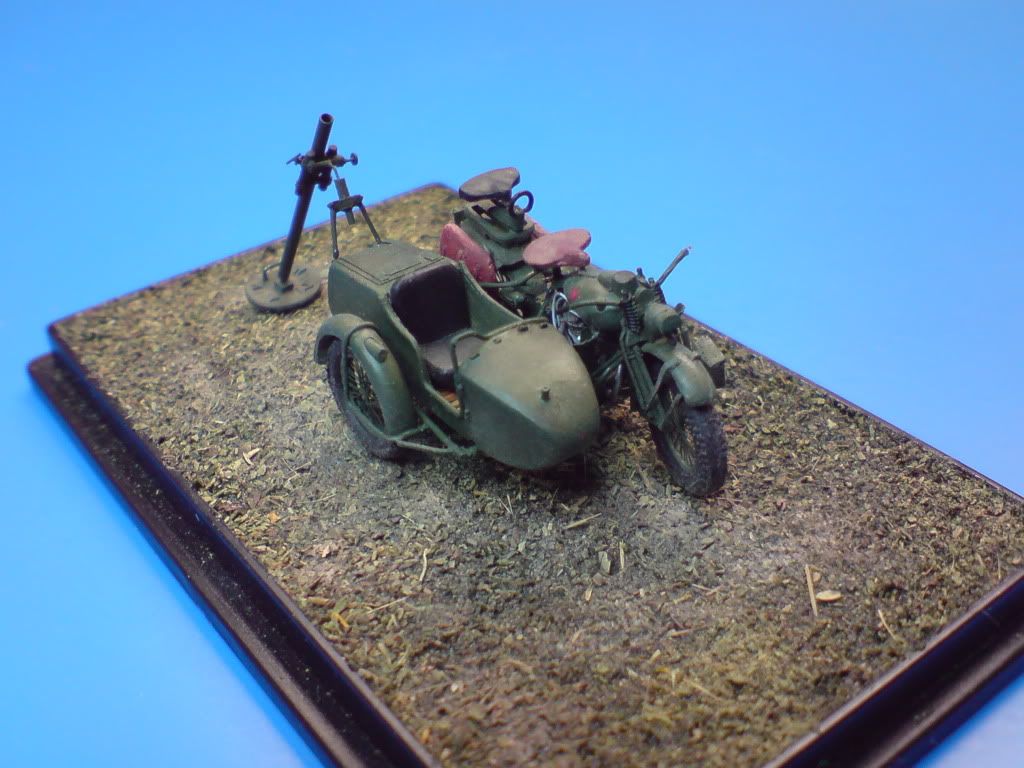
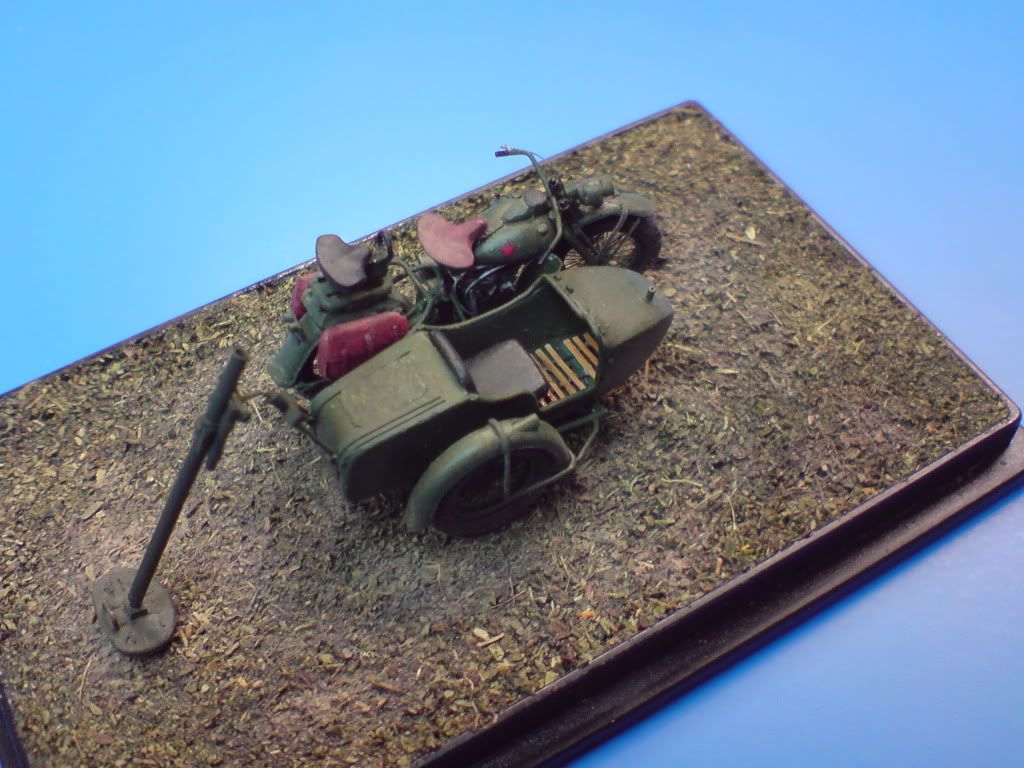
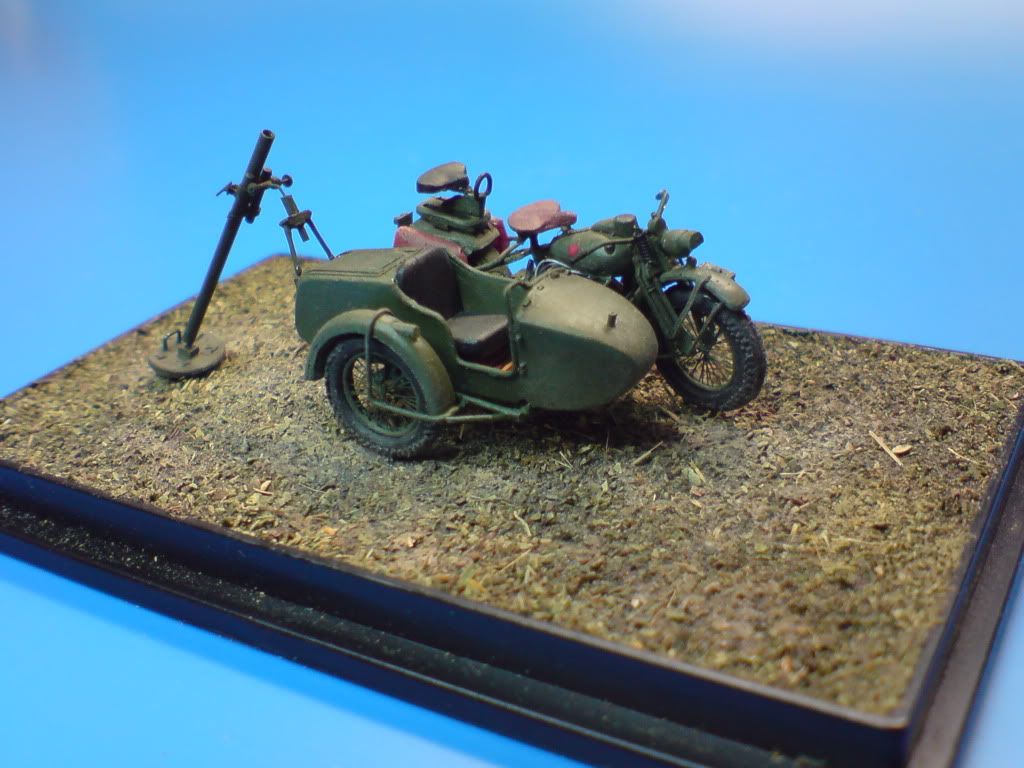
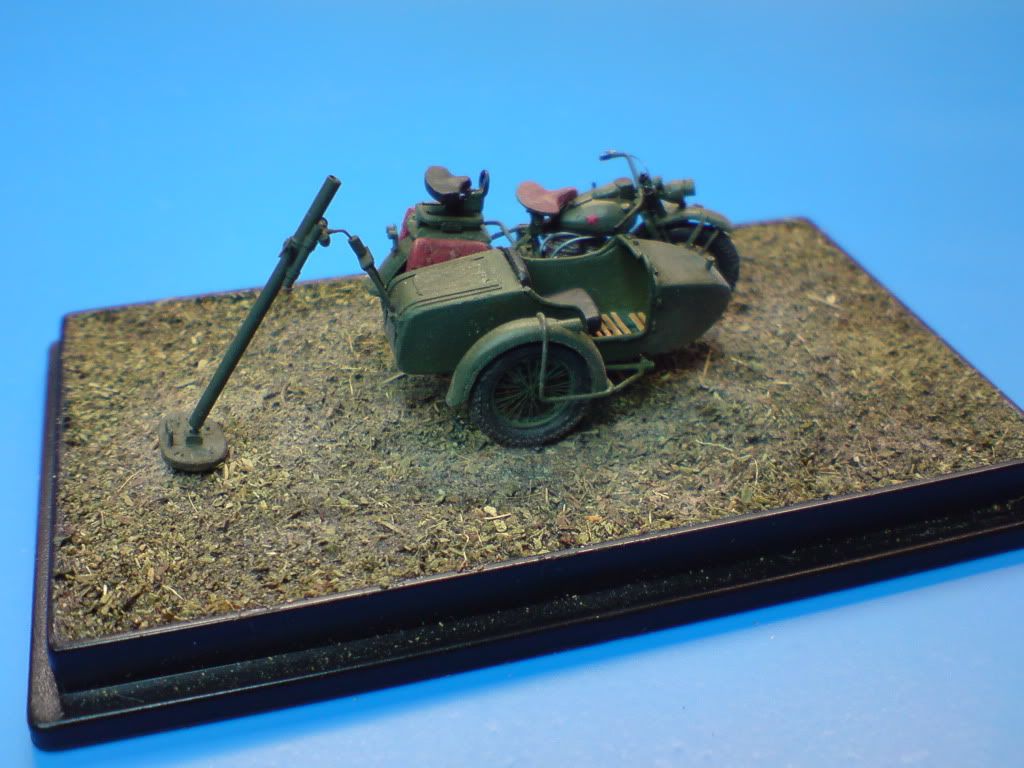
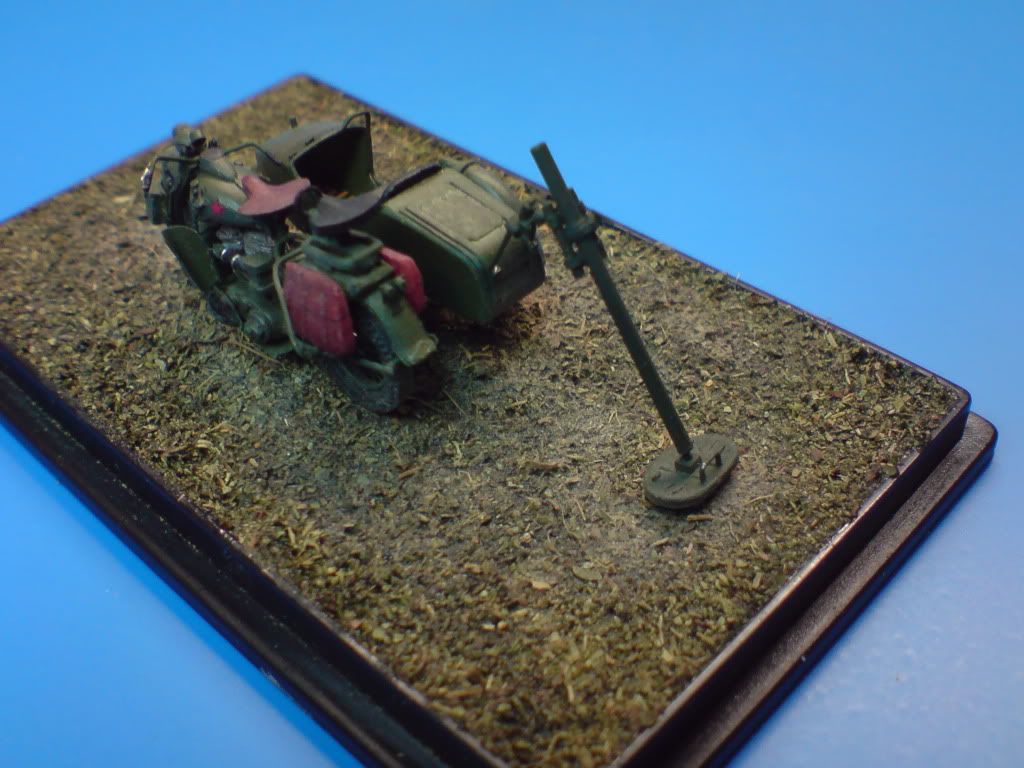
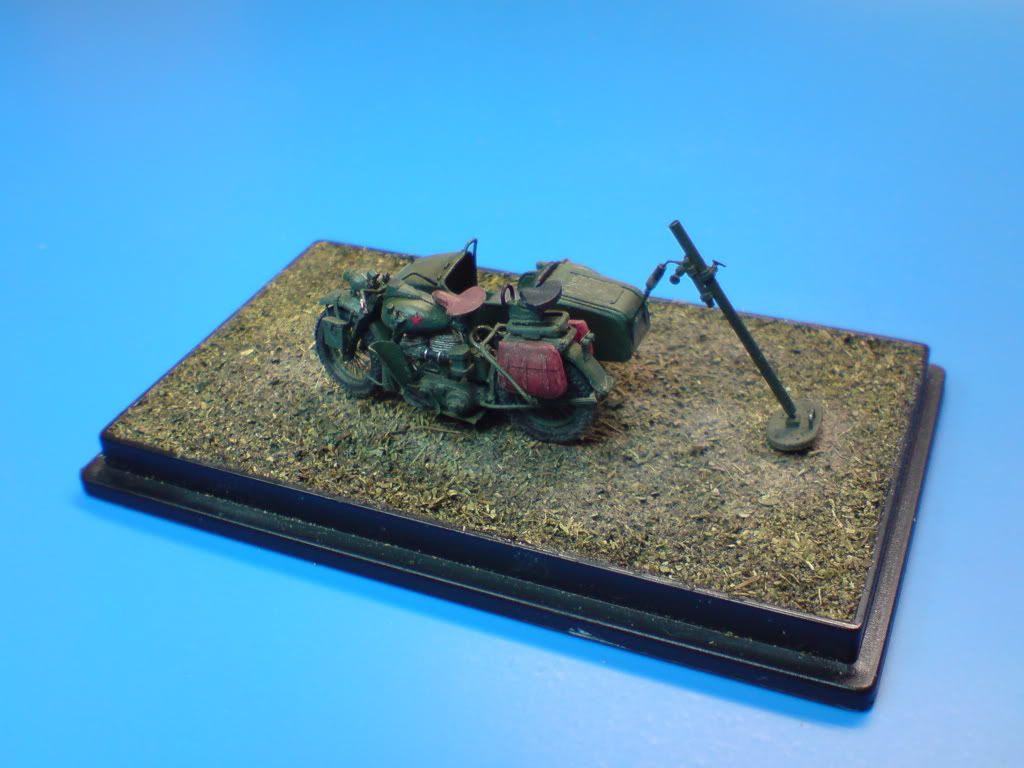
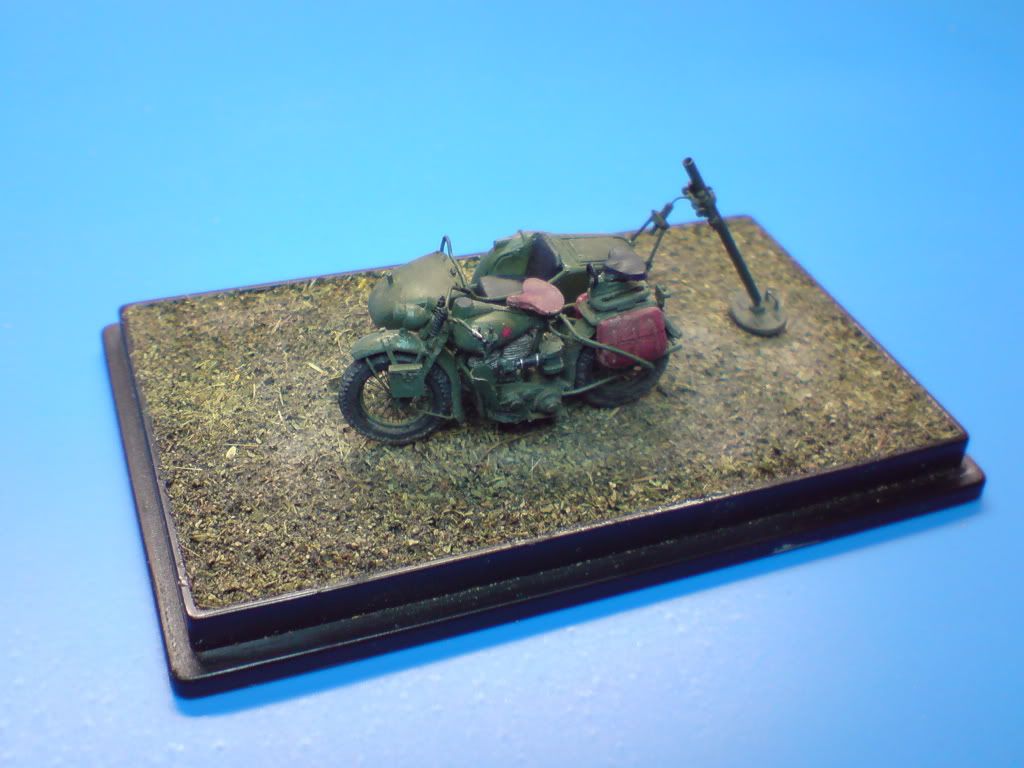
I want to share with you a scratch build of Harley WLA in 1:72. This time it will be Lend-Lease version (almost like my model in 1:9) with mortar mounted on the sidecar.
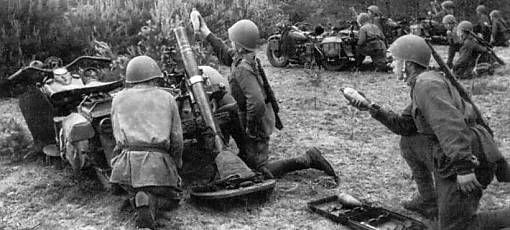
Source Internet
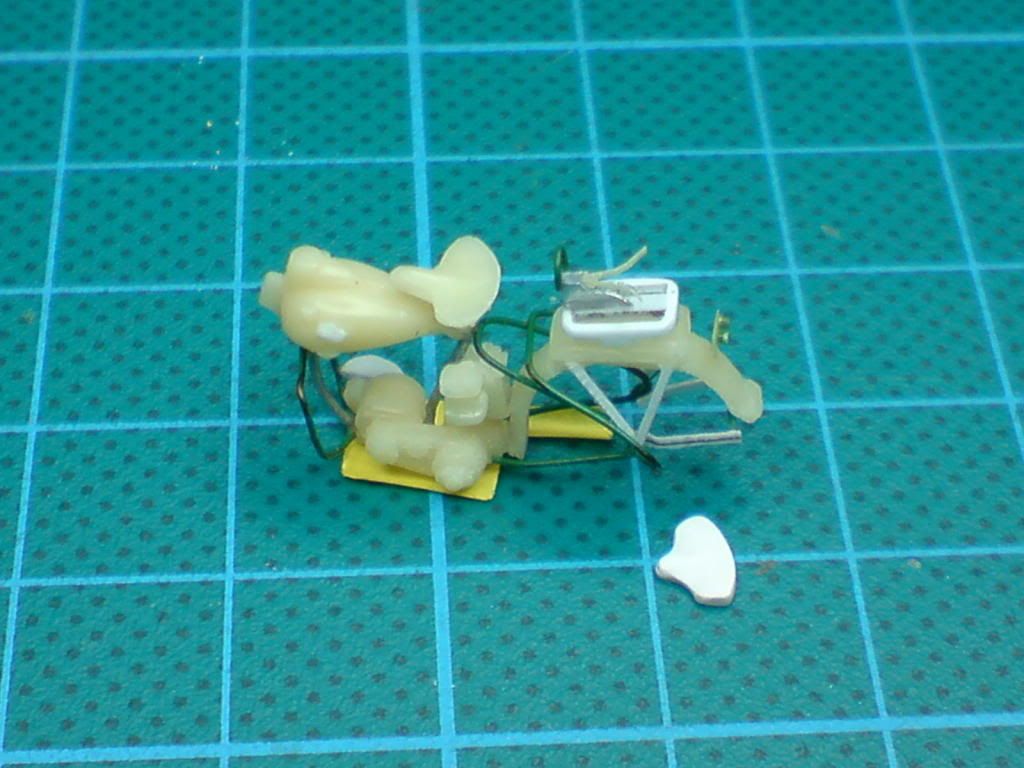
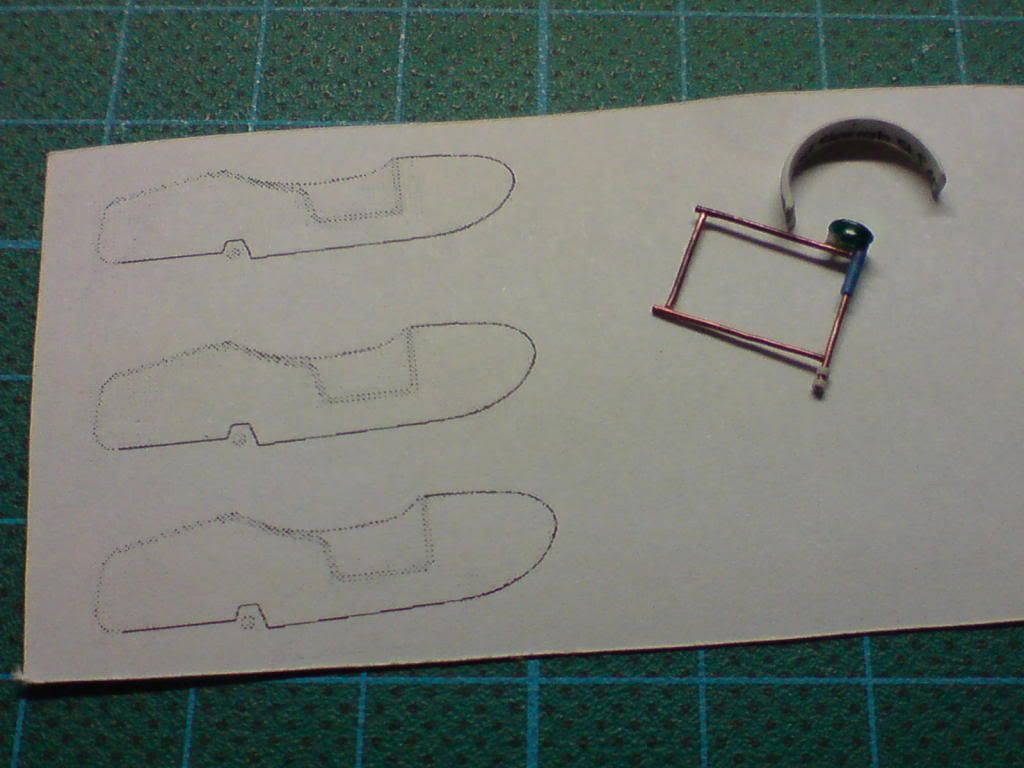
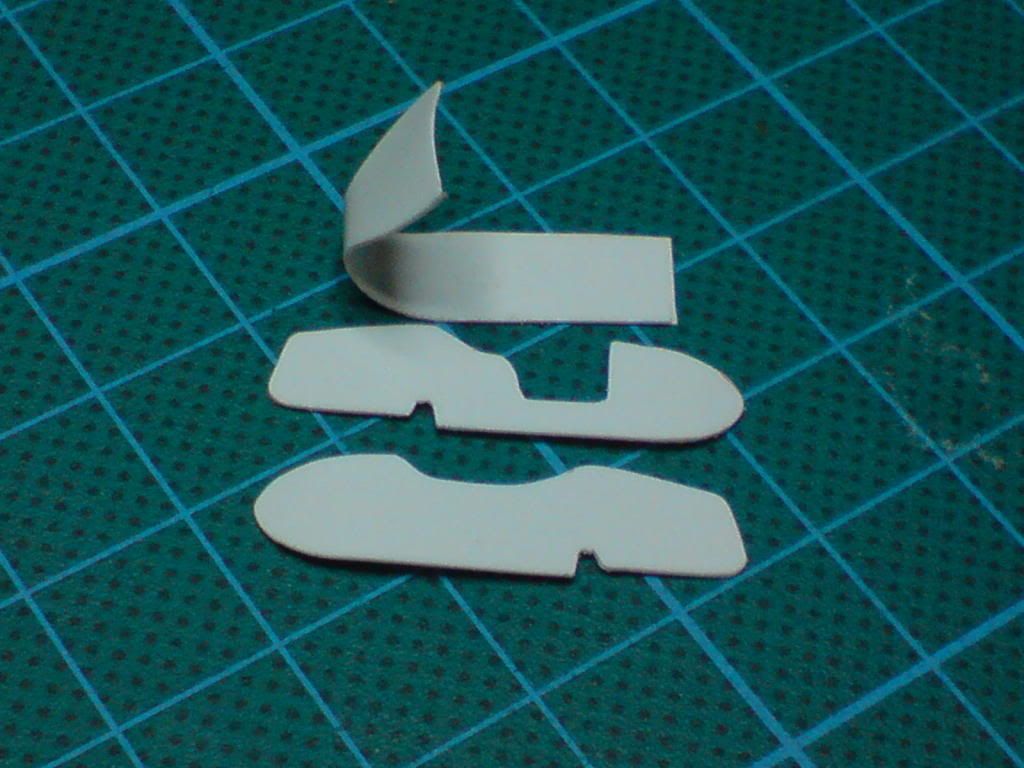
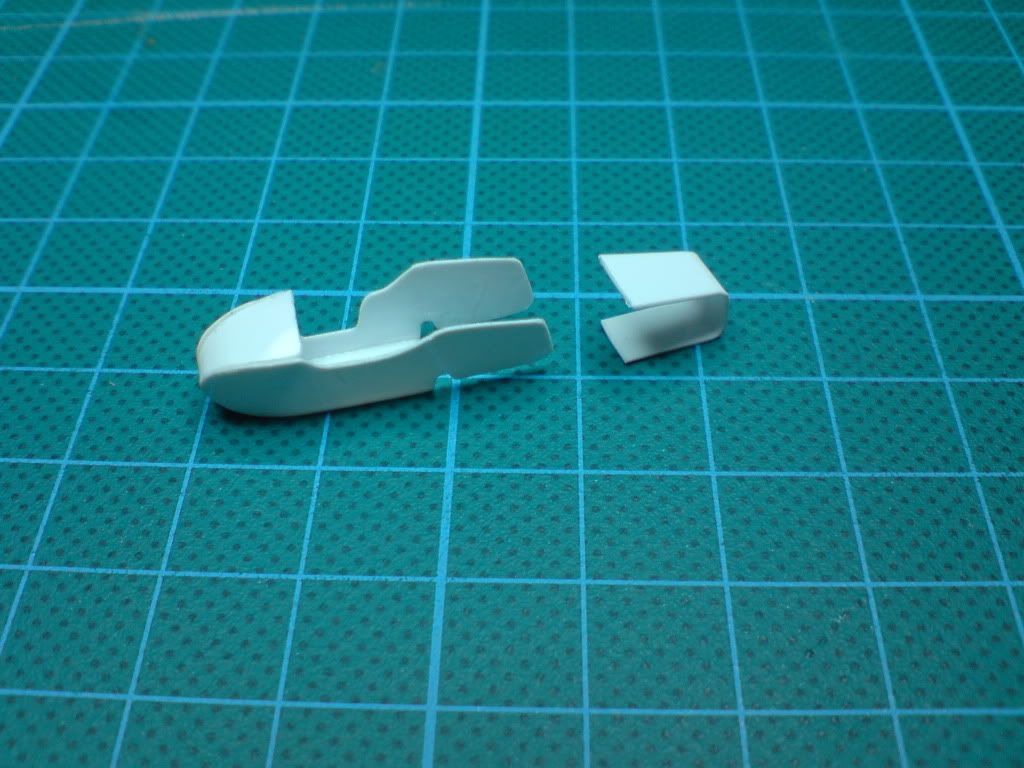
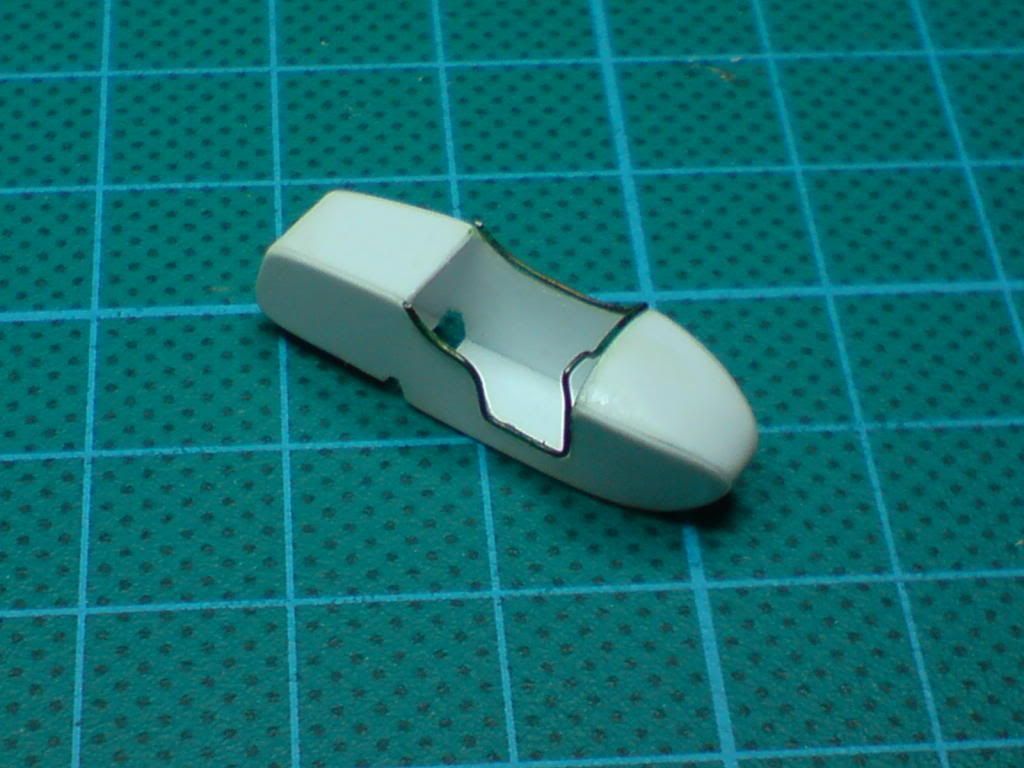
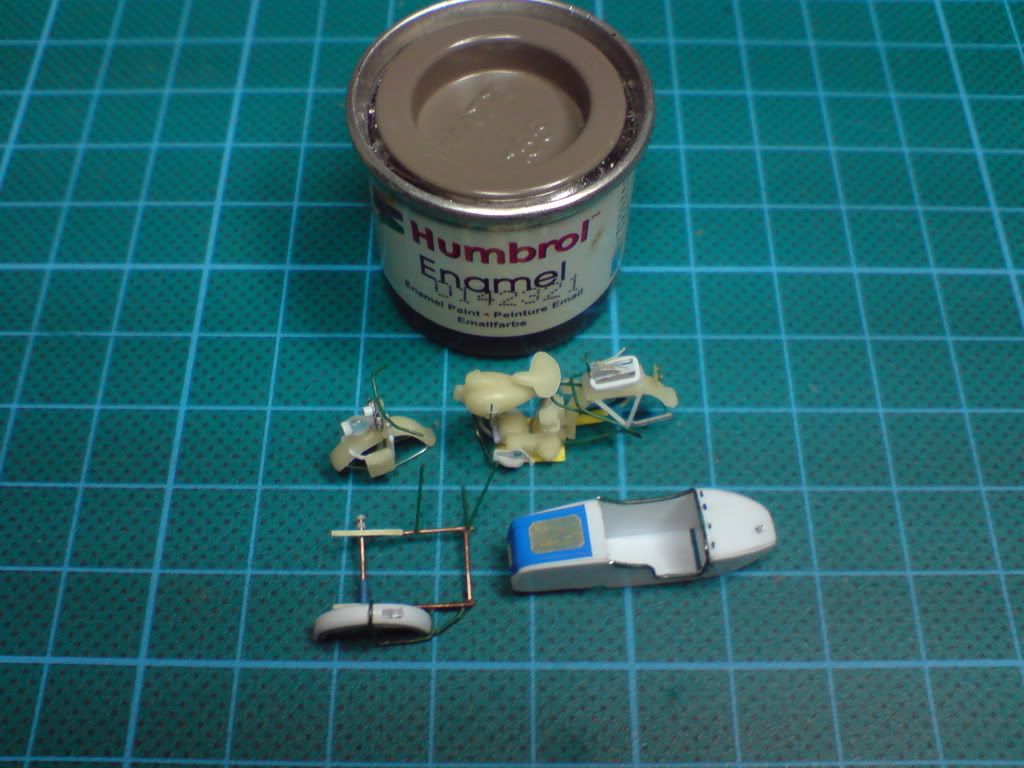
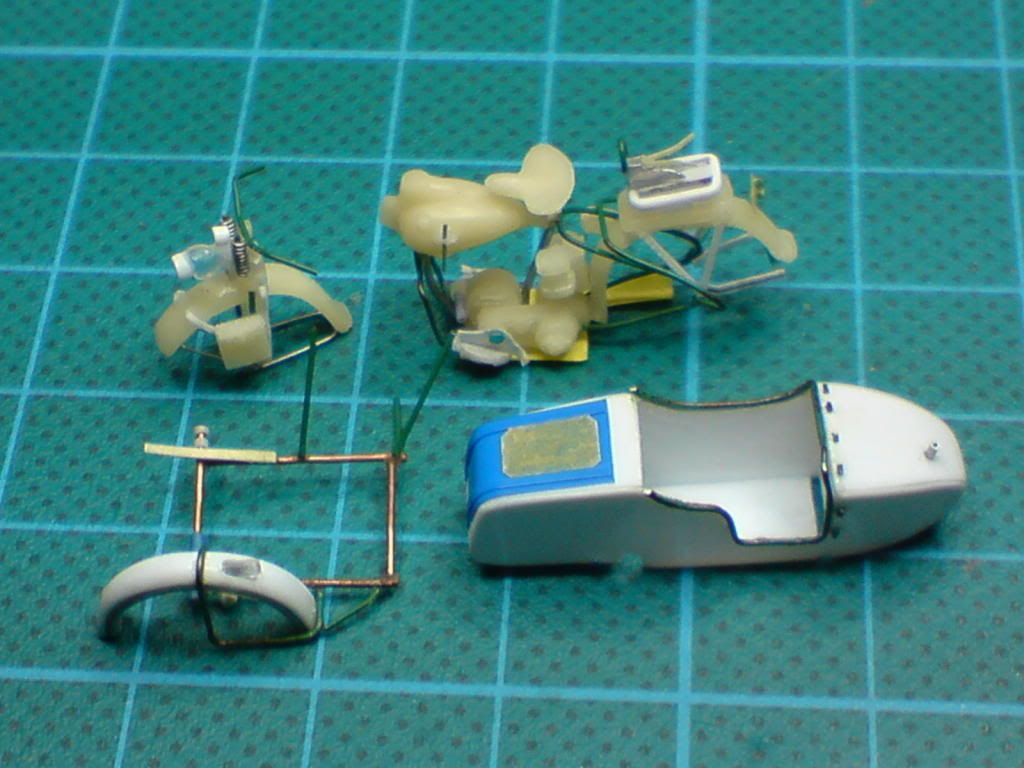
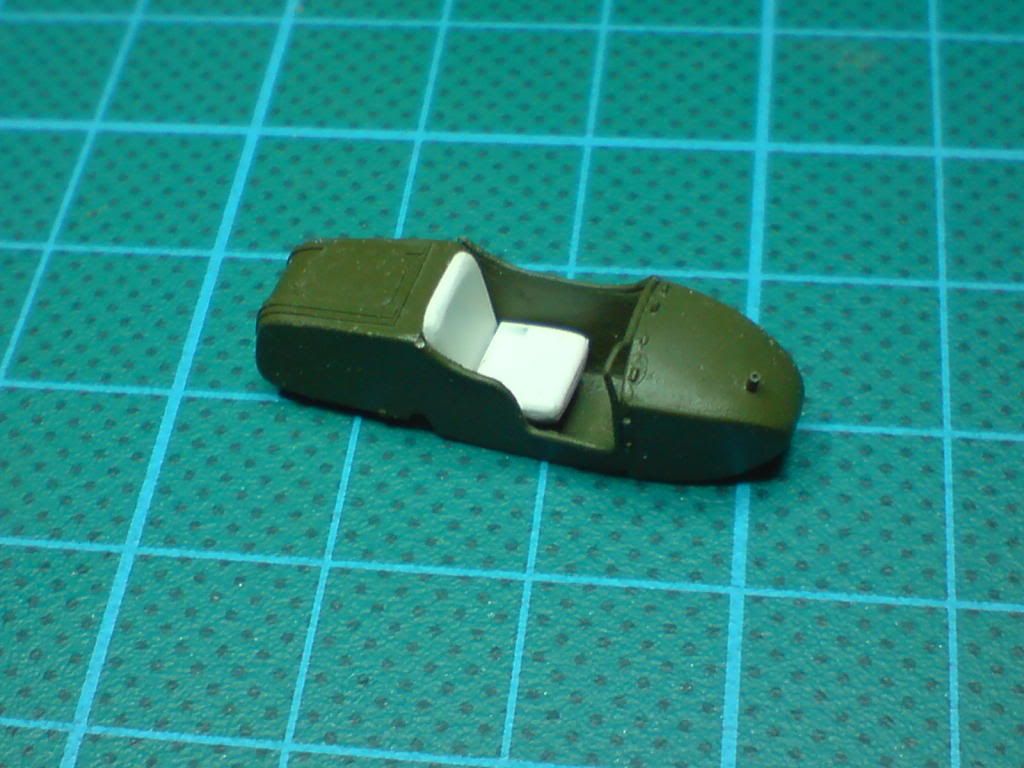
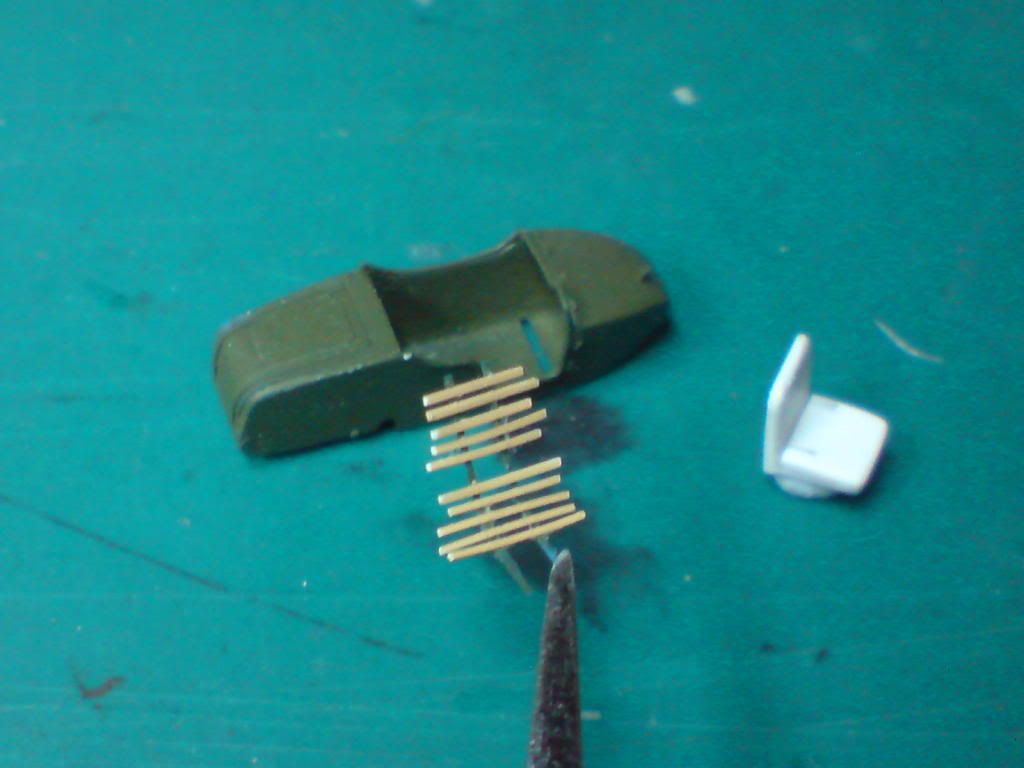
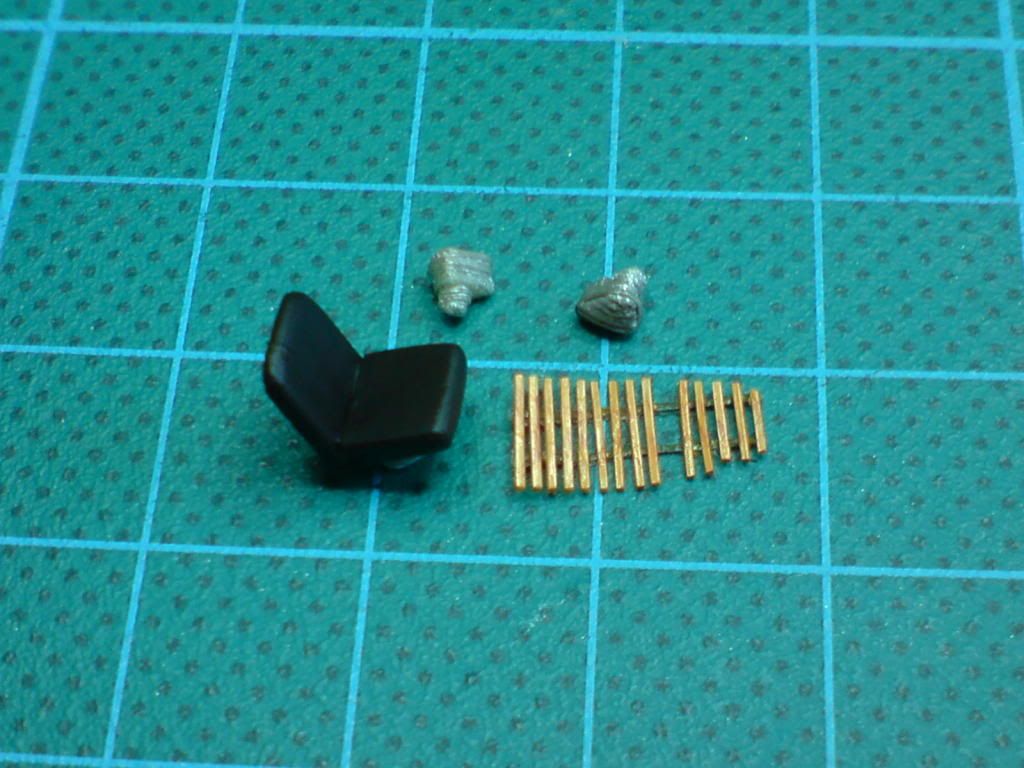
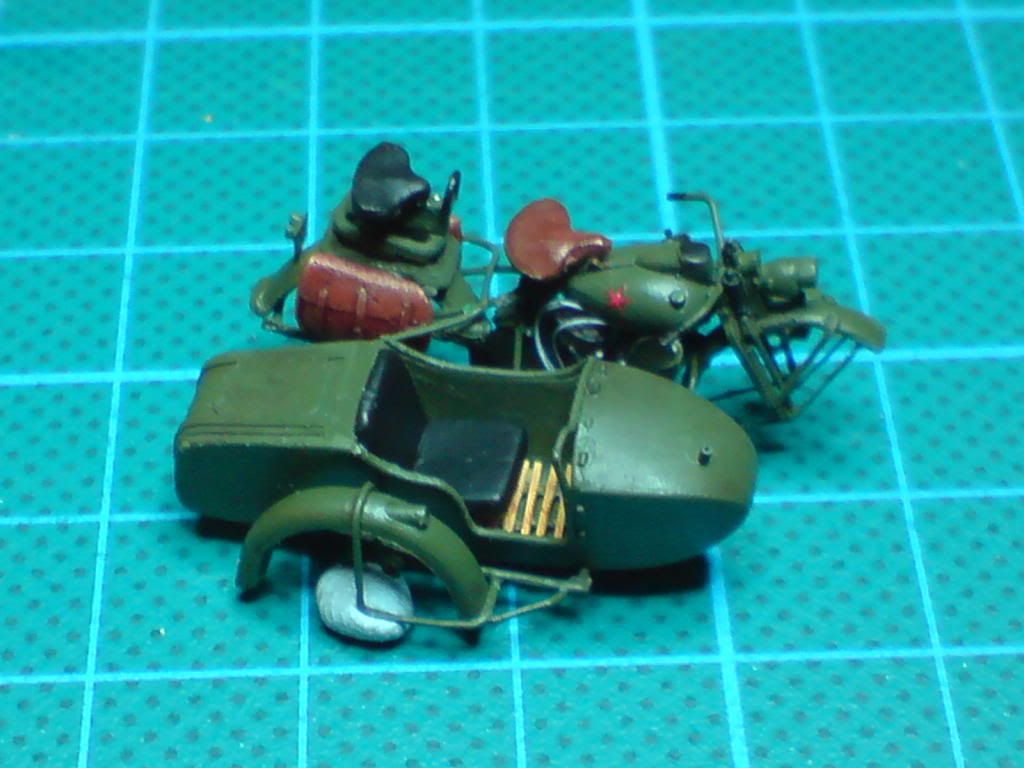
The build of this project was exactly the same as the Military Police motorcycle I've recently built, so there's no point to show the same pictures again. Below you can see the back seat (like in M72) and sidecar pieces.
P.S. Can you recomend any figures for the scene like on the picture above?
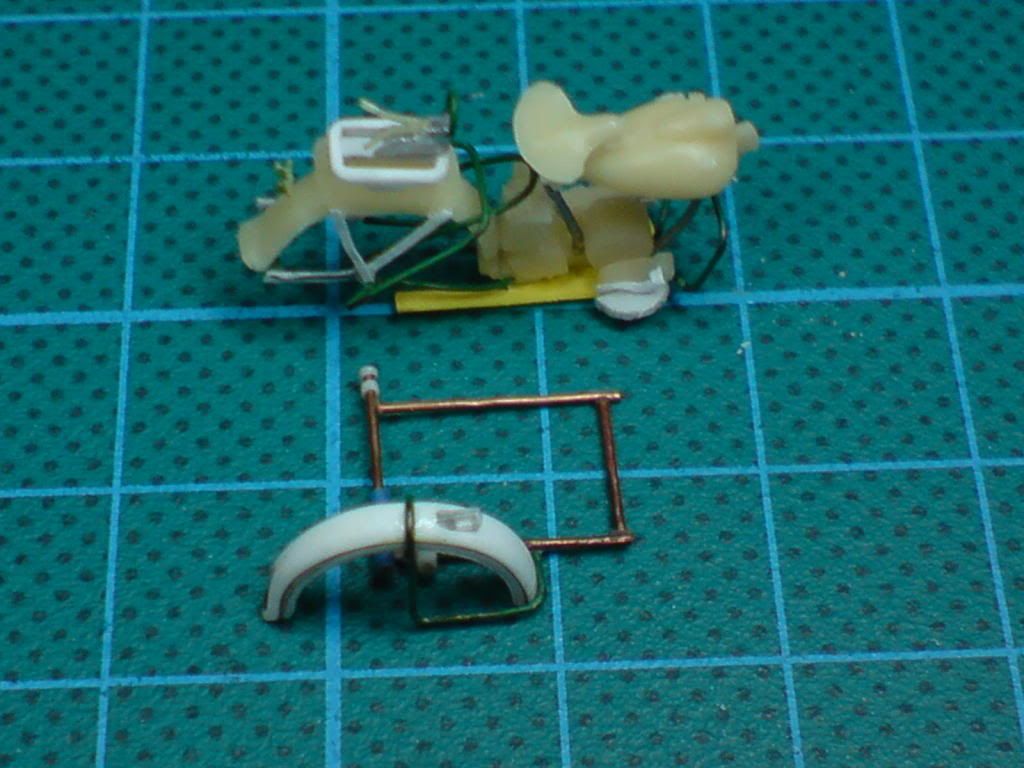
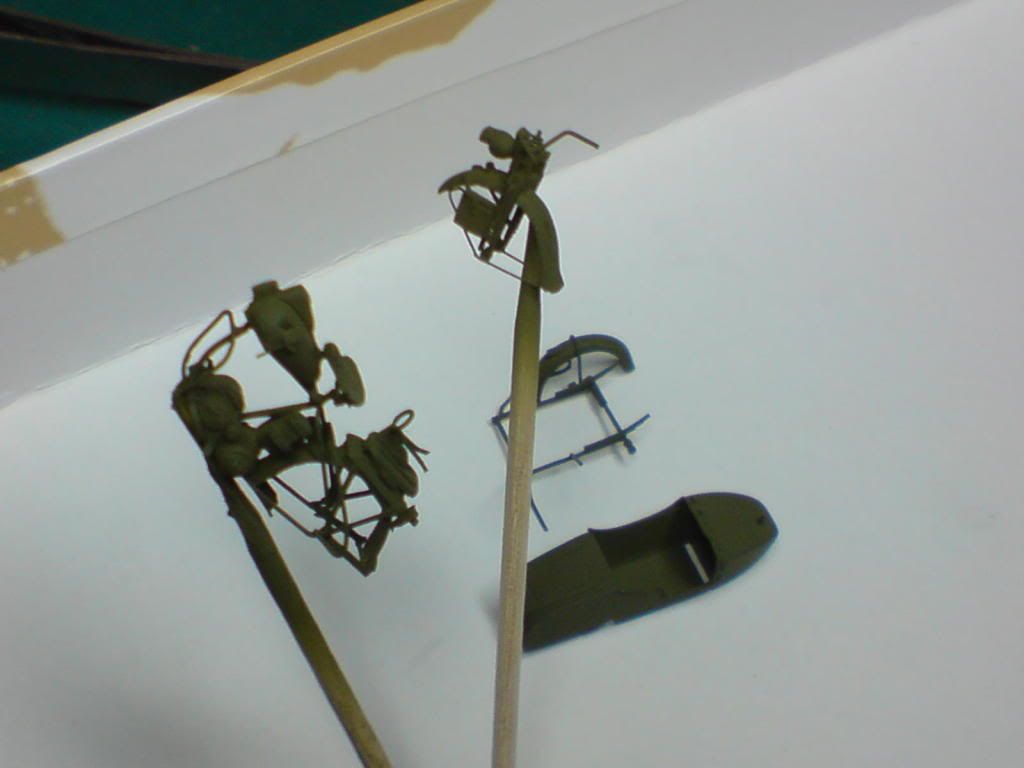
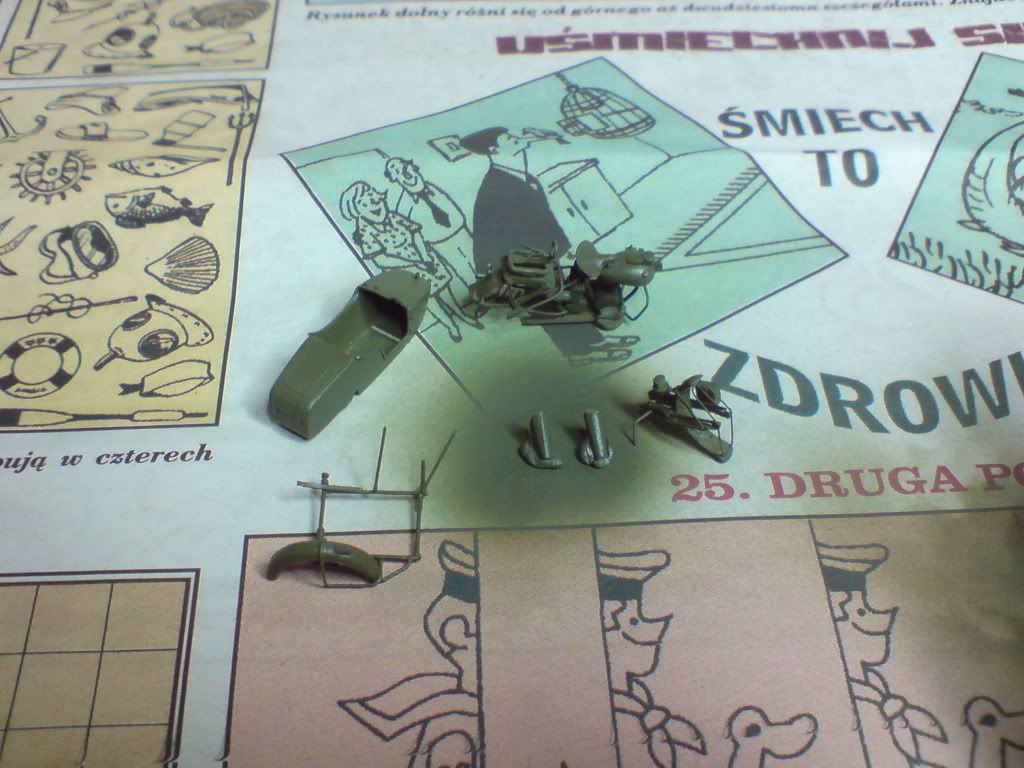
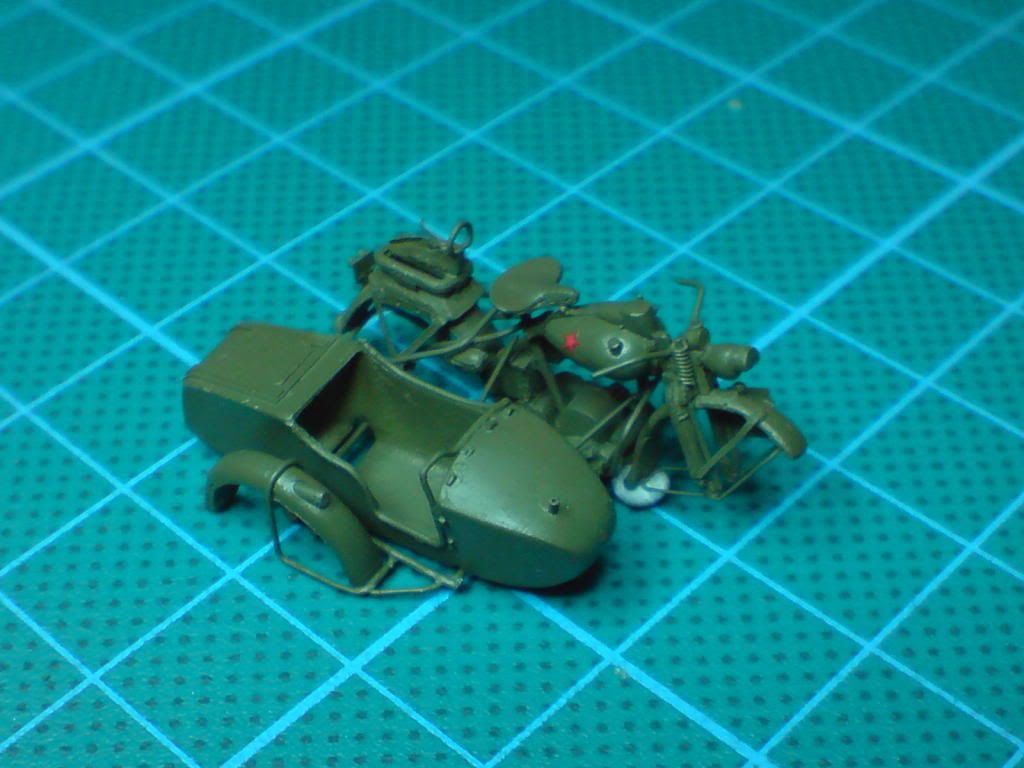
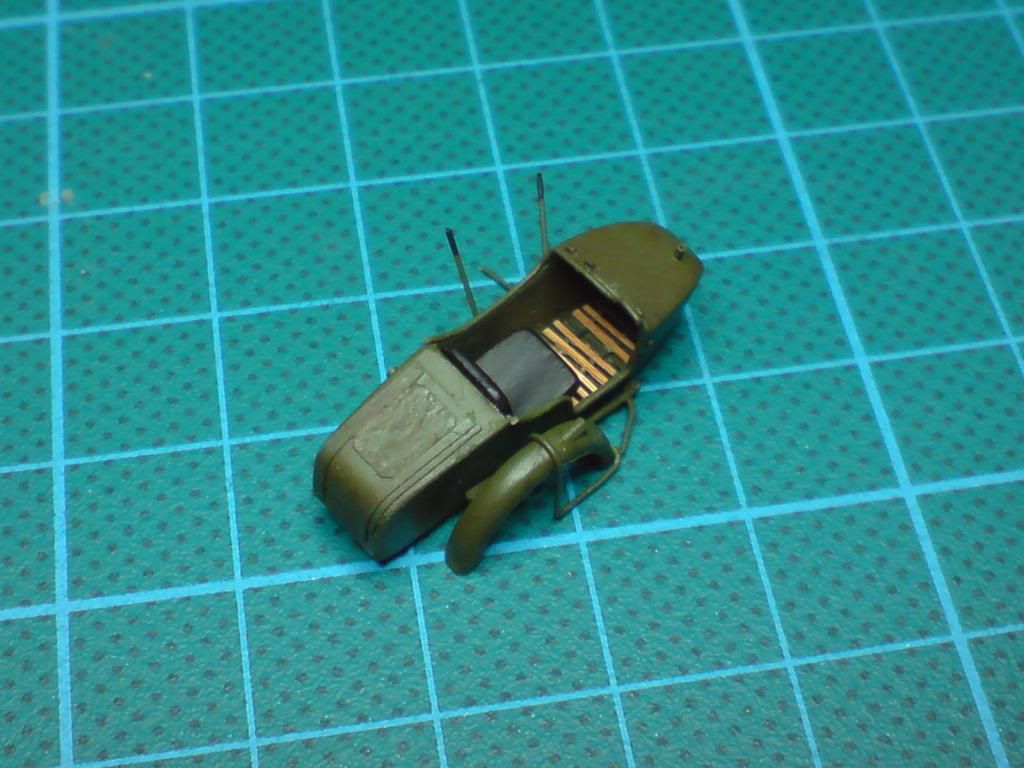
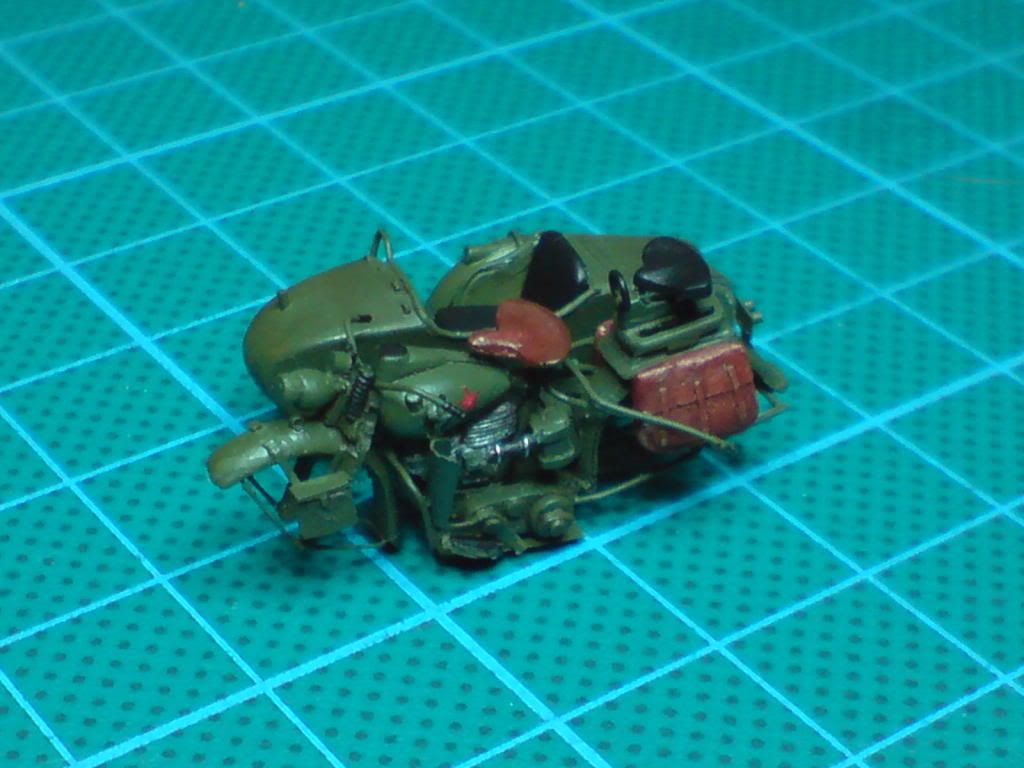
As you can see the work has advanced a bit. Thanks to photo reference found on this forum I’ve modified the headlight. I’ve added a black-out, and removed the small side lamp. Next I’ve started painting. I used Vallejo 90 for overall green and then a mixture of varnishes – 1:1 ratio of Vallejo matt and gloss. Before applying decals I’ve prepared the surface using Sidolux (so decals don’t shine). After applying the decals I’ve painted the spots again with mixture of varnishes. Now I only have to paint some details like: handlebars handles, front suspension springs, driver and passenger seats. Next I will make the sidecar seat and a duck-board to be put on the floor. After I finish the engine I will fix the frame together with the motorcycle. The picture below shows the pieces put together without glue.
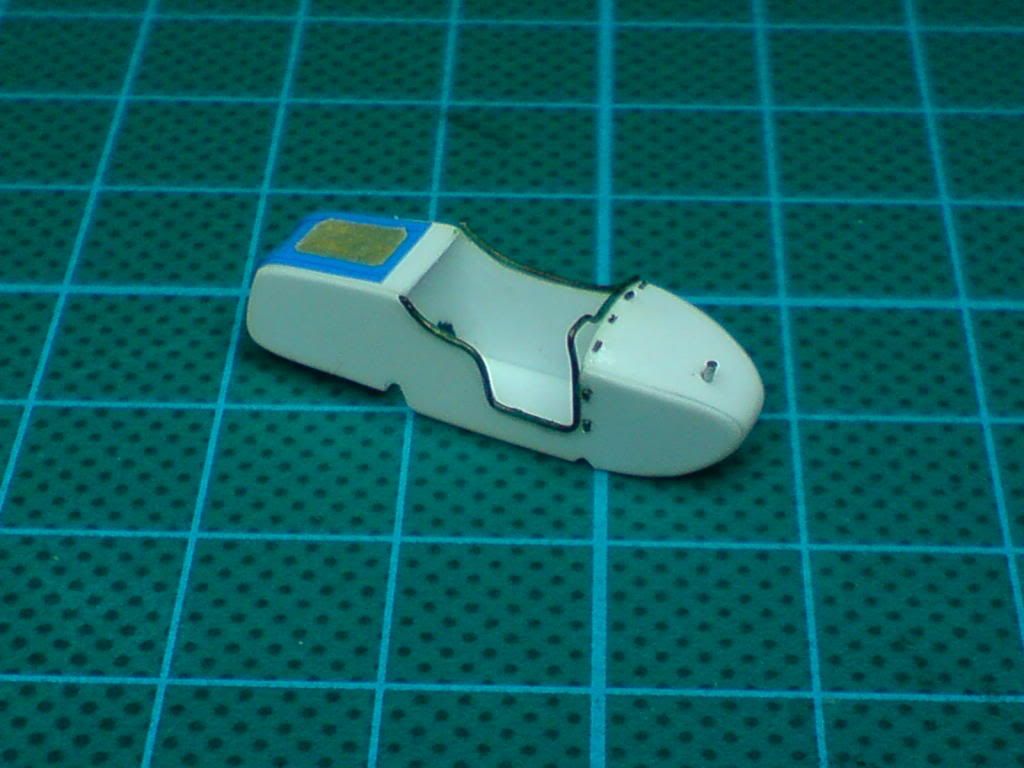
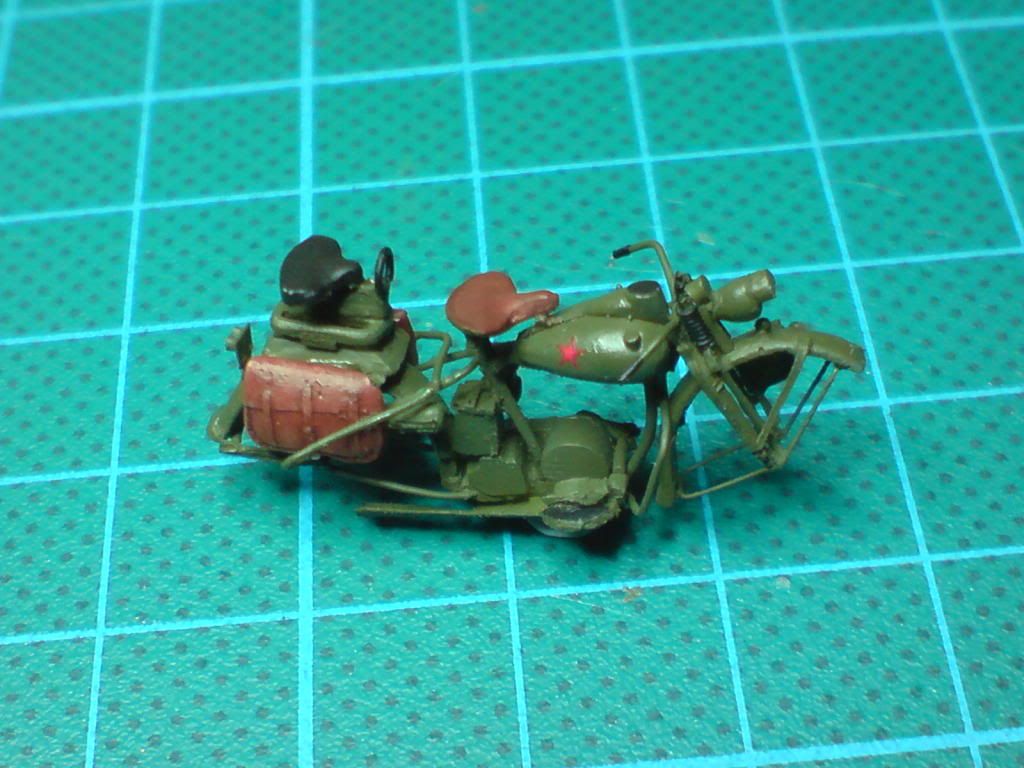
I haven’t done a lot during the weekend – I coughed flu and spent most of the time in bed. Maybe that’s why I didn’t perform too good… Do you sometimes have such a bad day, that glue doesn’t adhere, paint doesn’t cover and generally you smash everything you try to touch? That’s what I just had. I’ve painted some details on the frame and added the side bags (in the meantime I’ve snapped off the rear capsize protection bracket, front fender bracket, rear seat, and lost the rear wheel service stand). It took a while before I restored everything as it was… The only new part actually I made is the sidecar seat. Today I will cast new cylinders (I don’t have any decent one) and will make the duck board – so I’d have the sidecar finished (at least until I start working on the mortar).
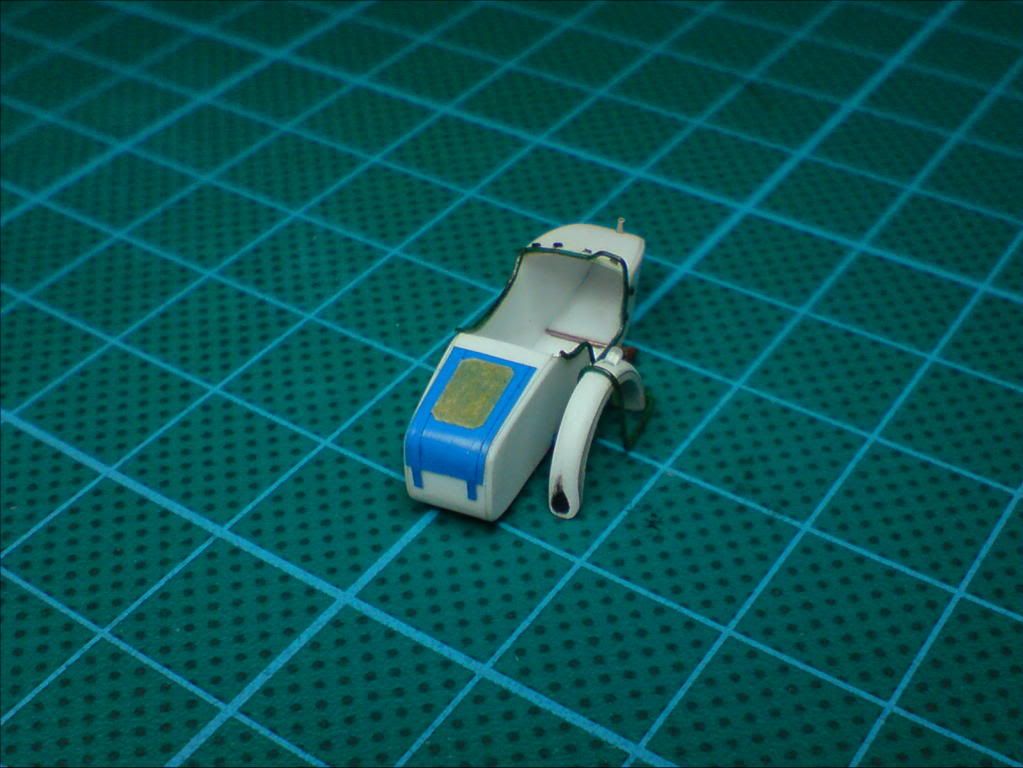
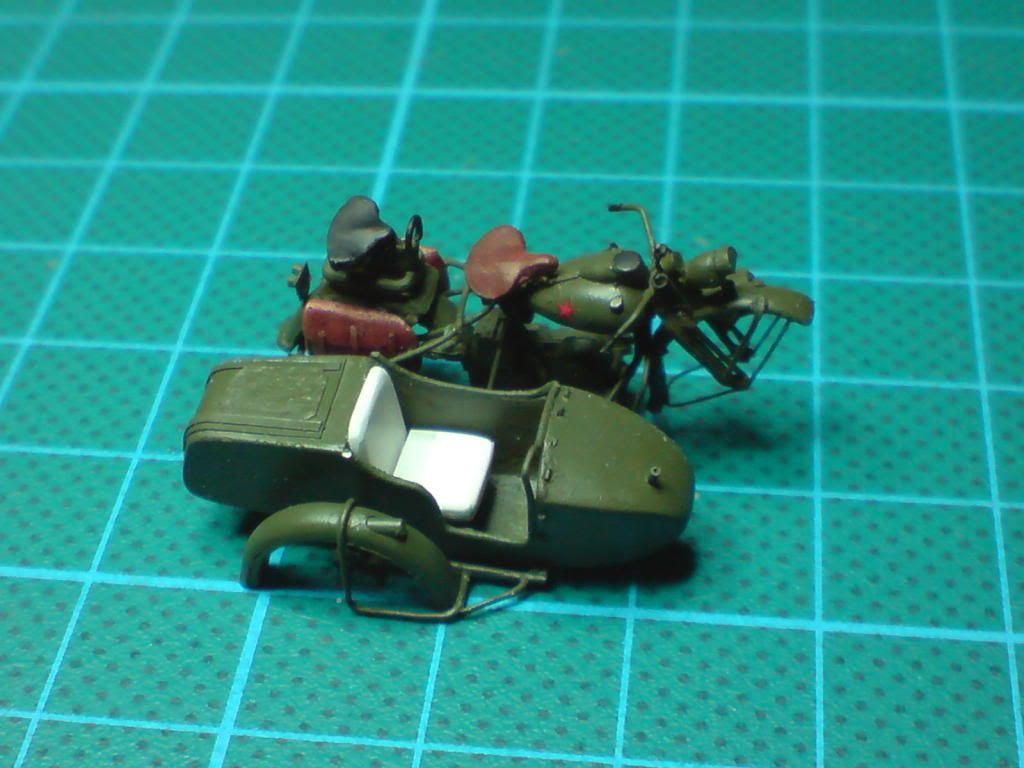
I got better and could proceed with the build. I started from casting decent engine cylinders. Next I dealt with the duck-board. After I’ve painted the seat and assembled all pieces – the sidecar is complete. I also finished the engine by adding air filter pipe, fuel and oil pipes and spark plugs. Next I’ve fixed the sidecar frame to the motorcycle frame. Now I regret it, because it will be difficult to install the drive chain and exhaust pipe… Yet another proof that one has to think twice before gluing.
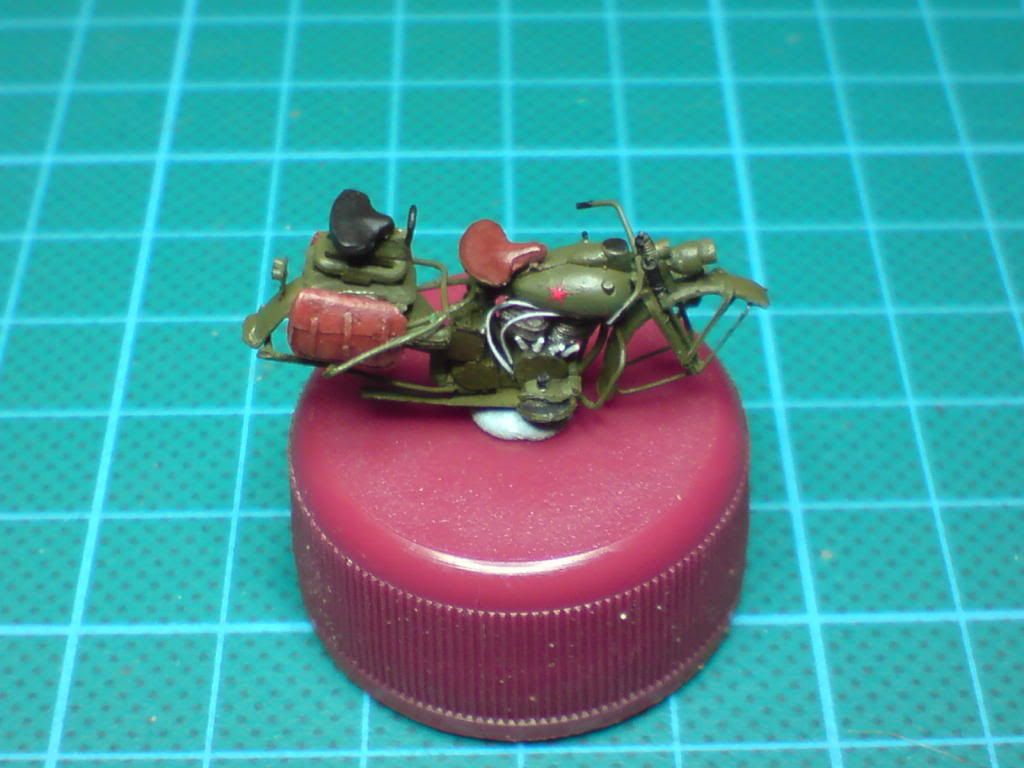
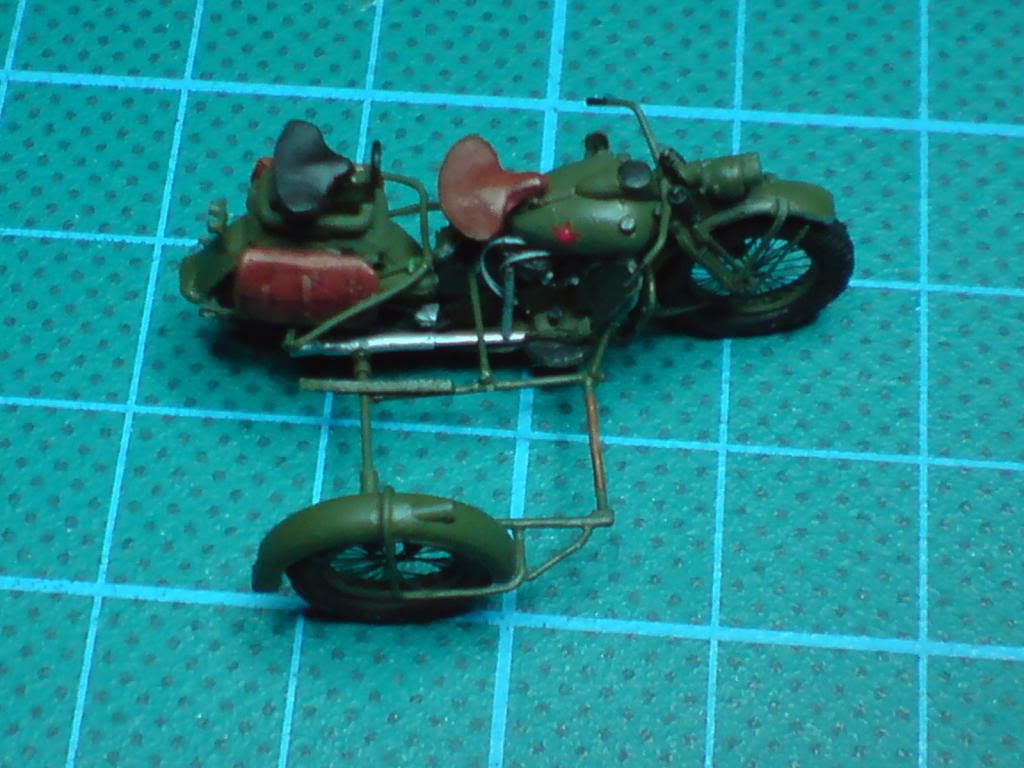
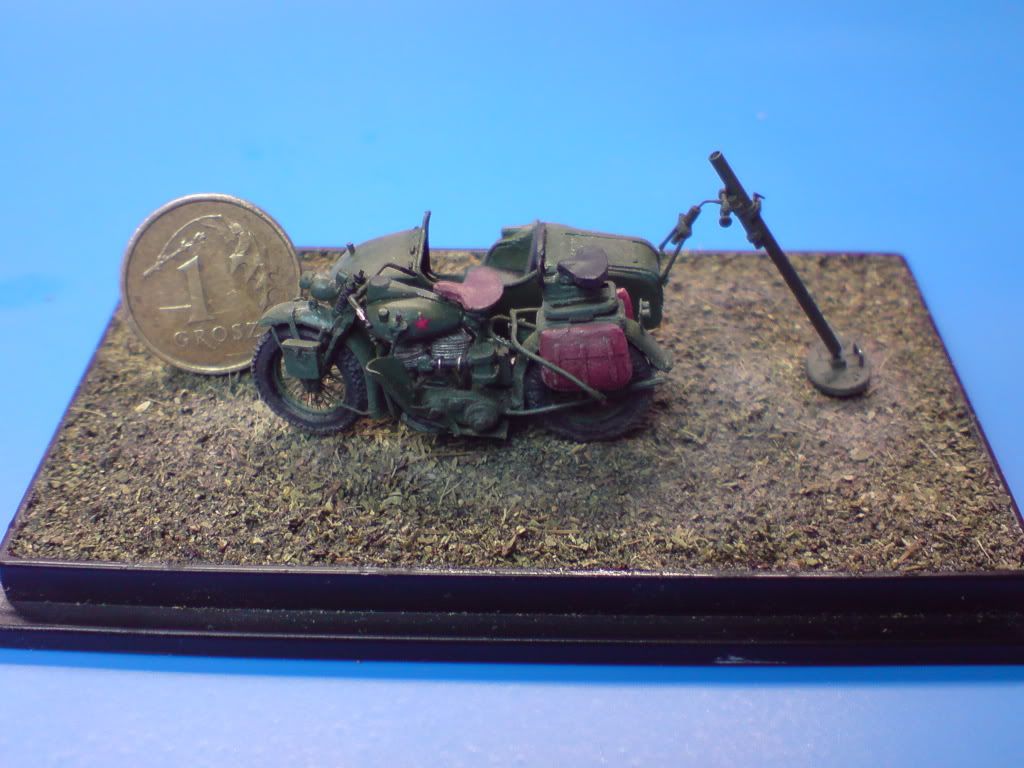
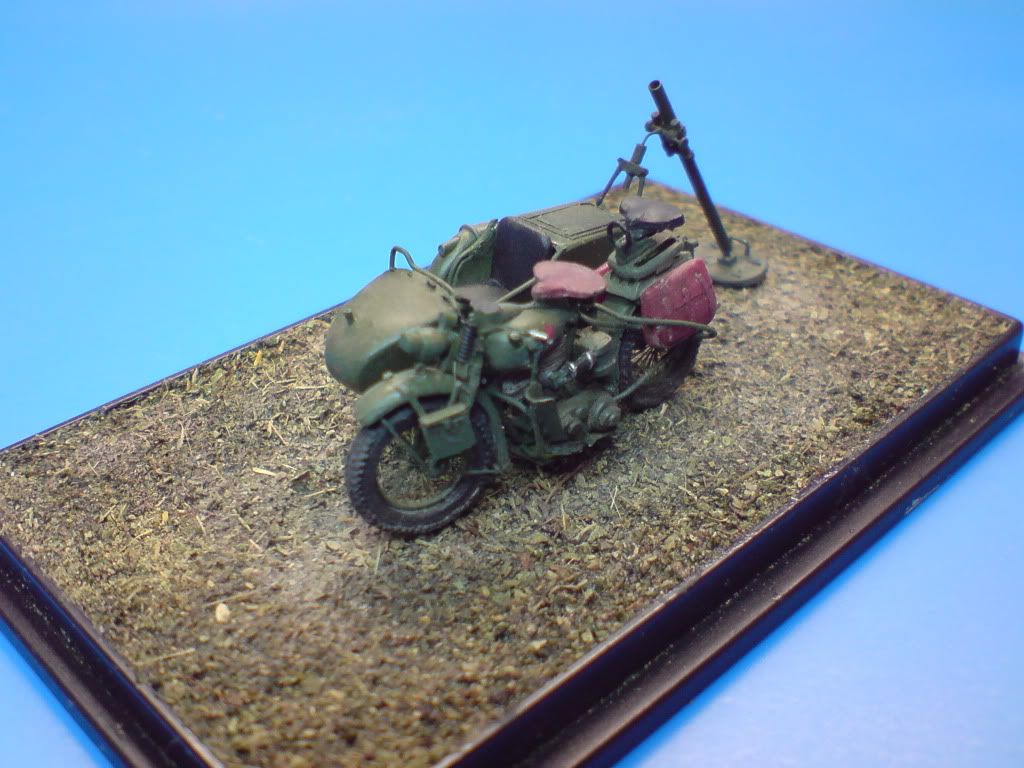
After completing the chain drive and exhaust pipe the motorcycle is finished. I had to remove the sidecar gondola to level out the wheels. Now I only have to make the mortar to have this project finished.
And here exclusively for scalemodels.ru is 1:72 spoked wheels Pictorial Tutorial:
1. 2. 3.
4. 5. 6.
7. 8. 9.
10.11.12.
13.
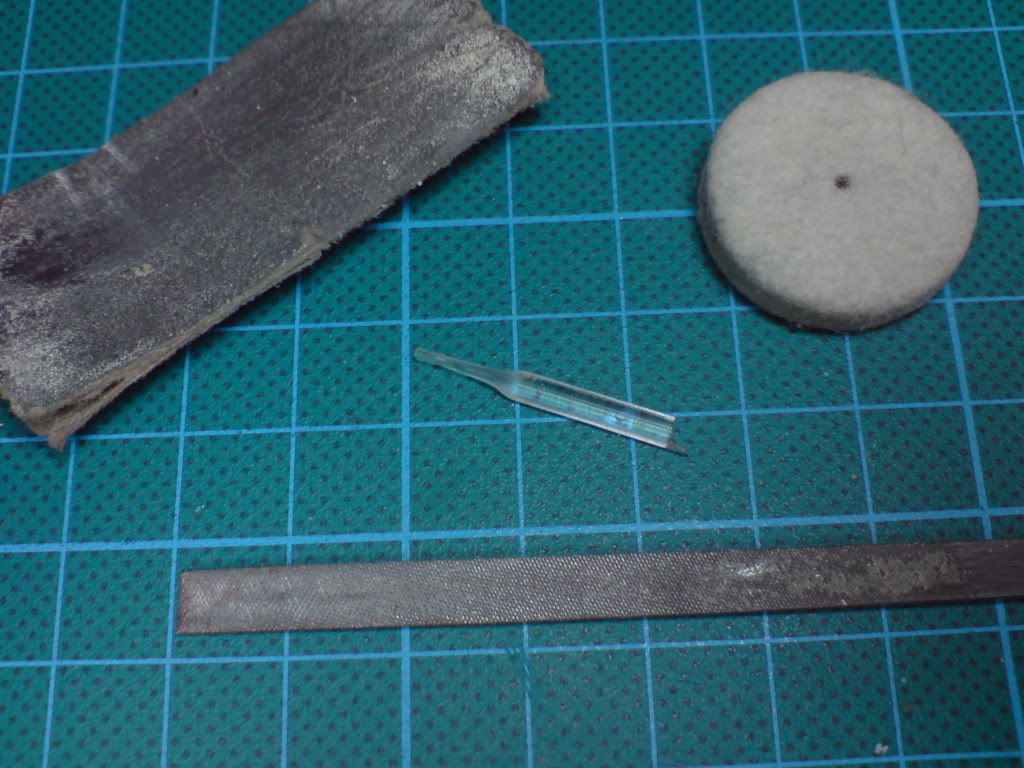
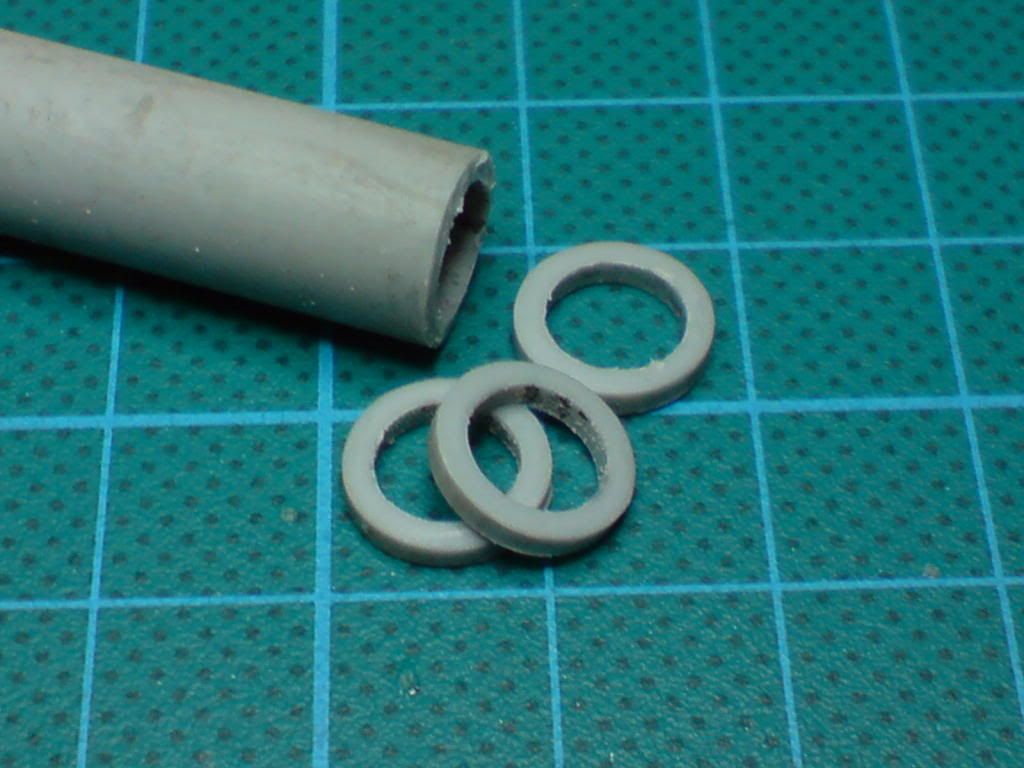
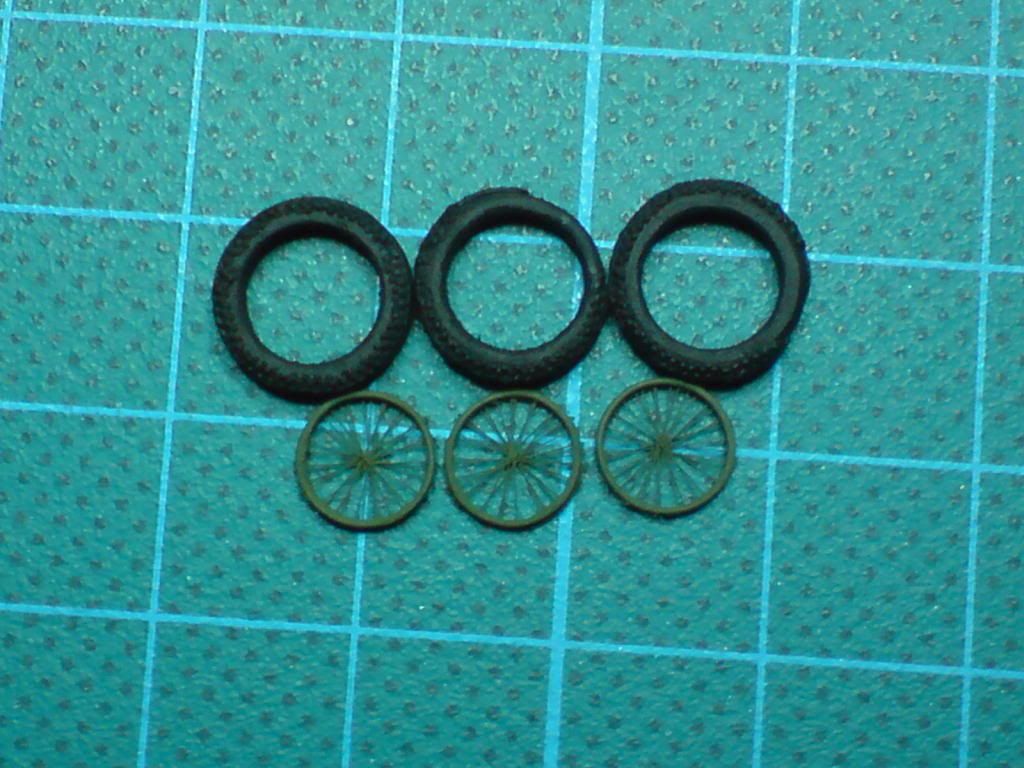
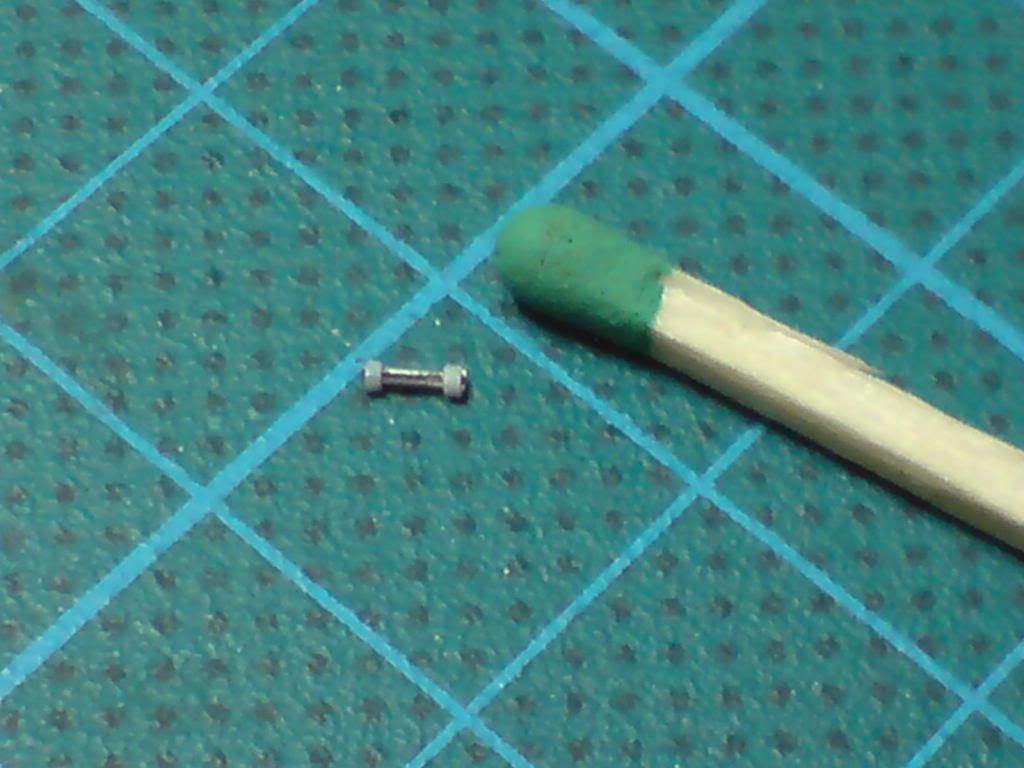
1. Chose a marker pen with plastic tube of desired inside and outside diameter and cut a slice to make a tire.
2. Shape the round profile with use of sanding paper and/or files.
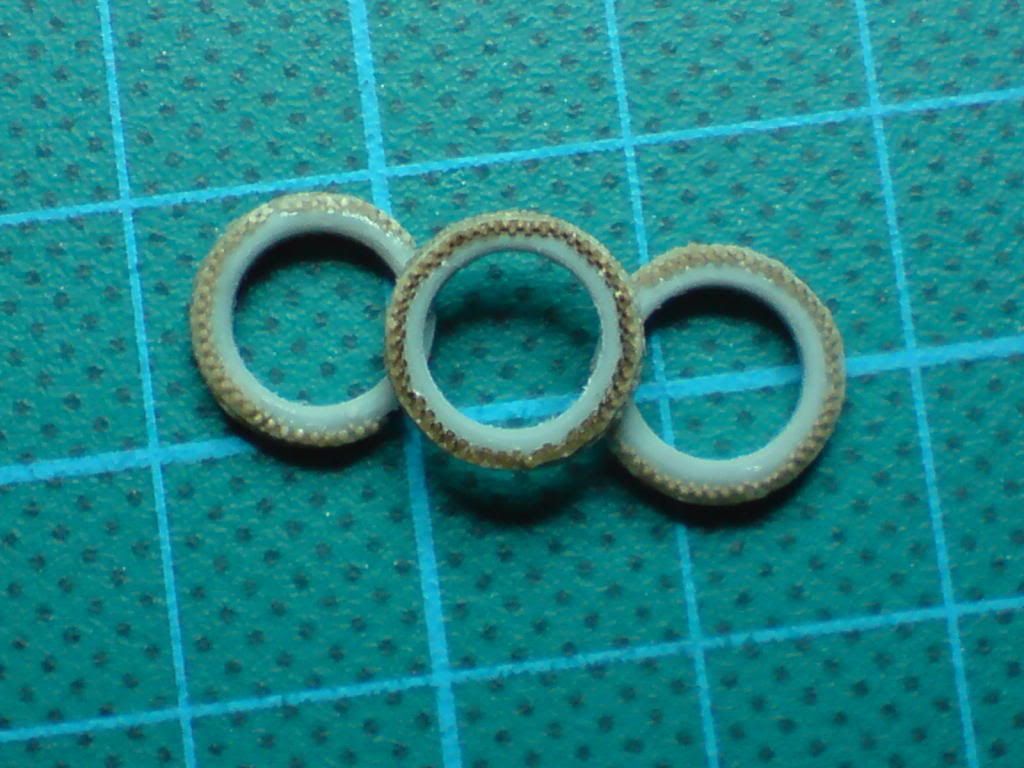
3. Apply the tire tread (I use laser cut tread I got from DRAFMODEL, but before I simply cut snicks with blunt hobby knife blade).
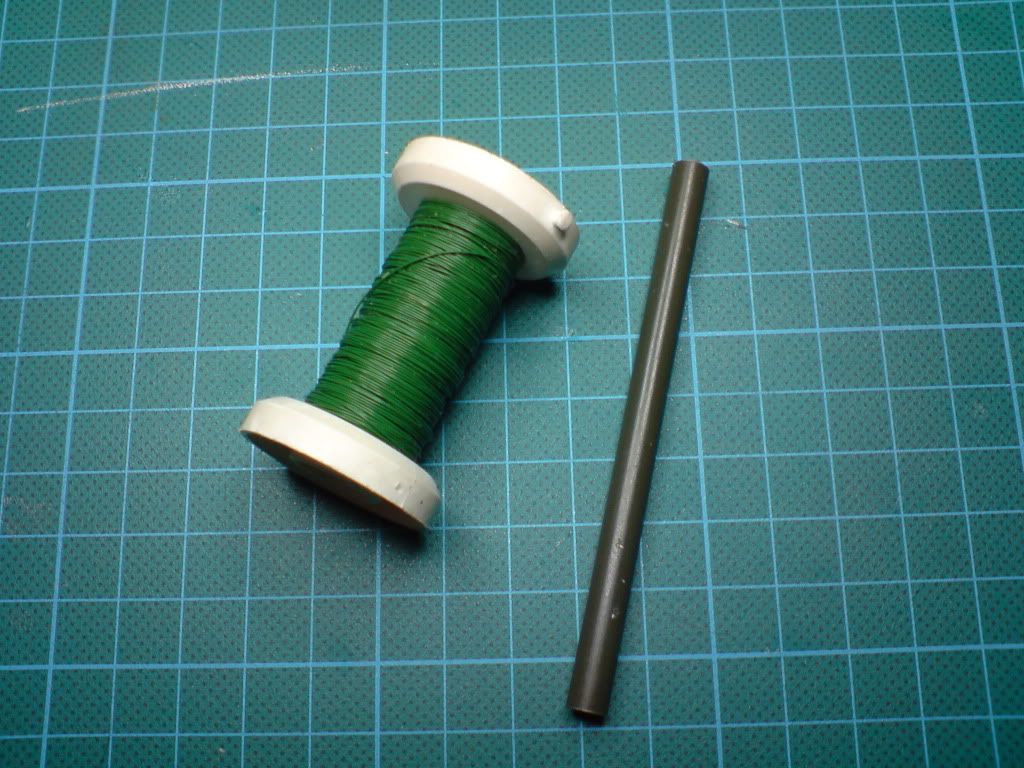
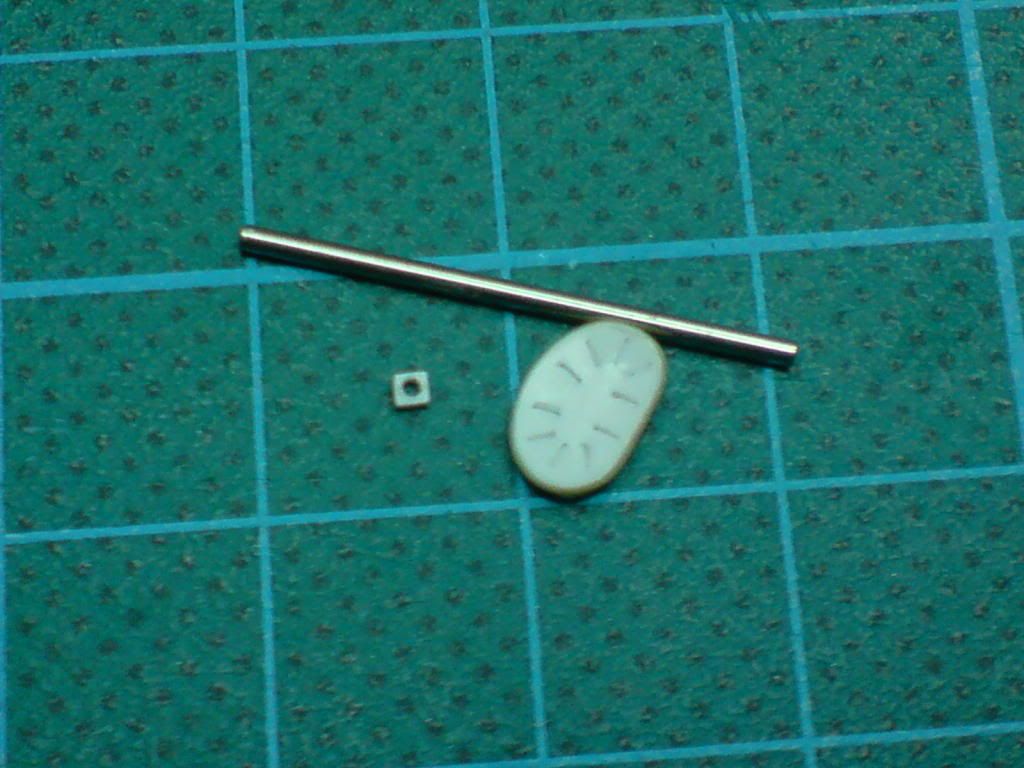
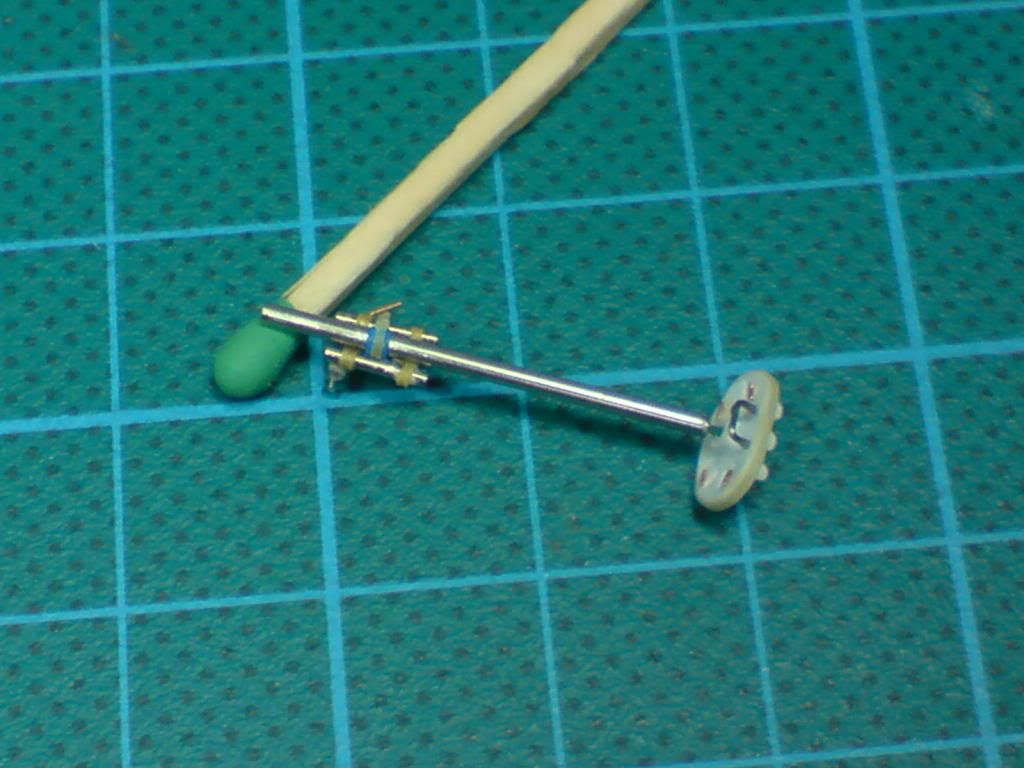
4. For the wheel rims I use thin steel wire with plastic coating (it’s not elastic and adheres well with use of CA glue) and proper diameter tube or drill bit.
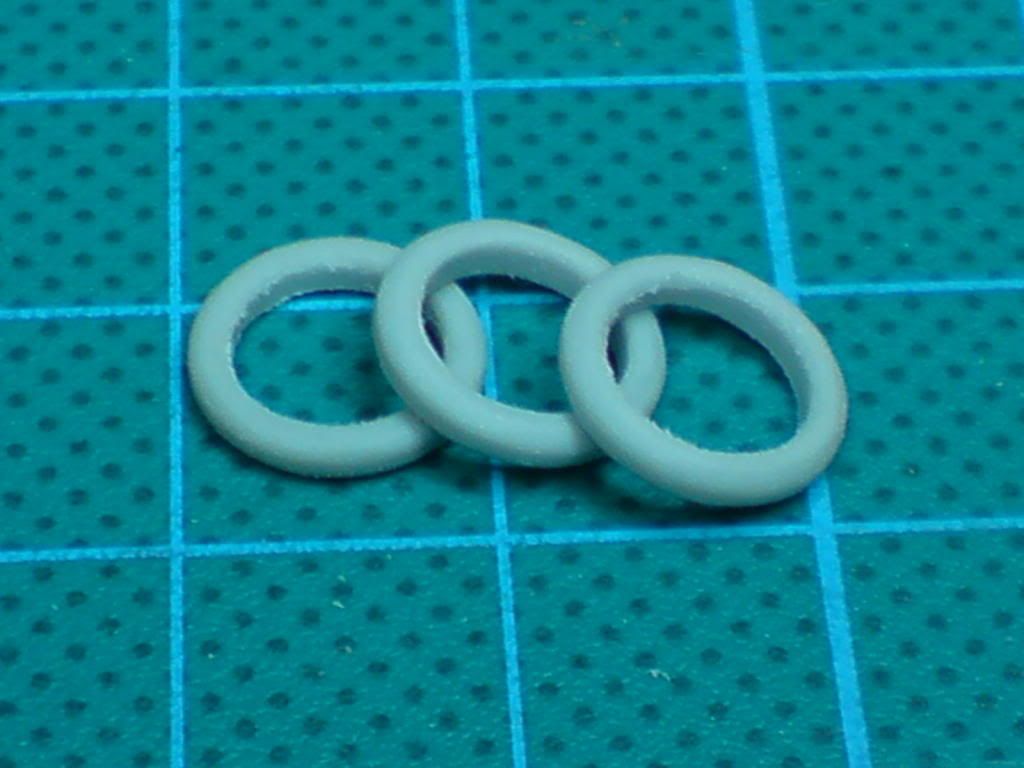
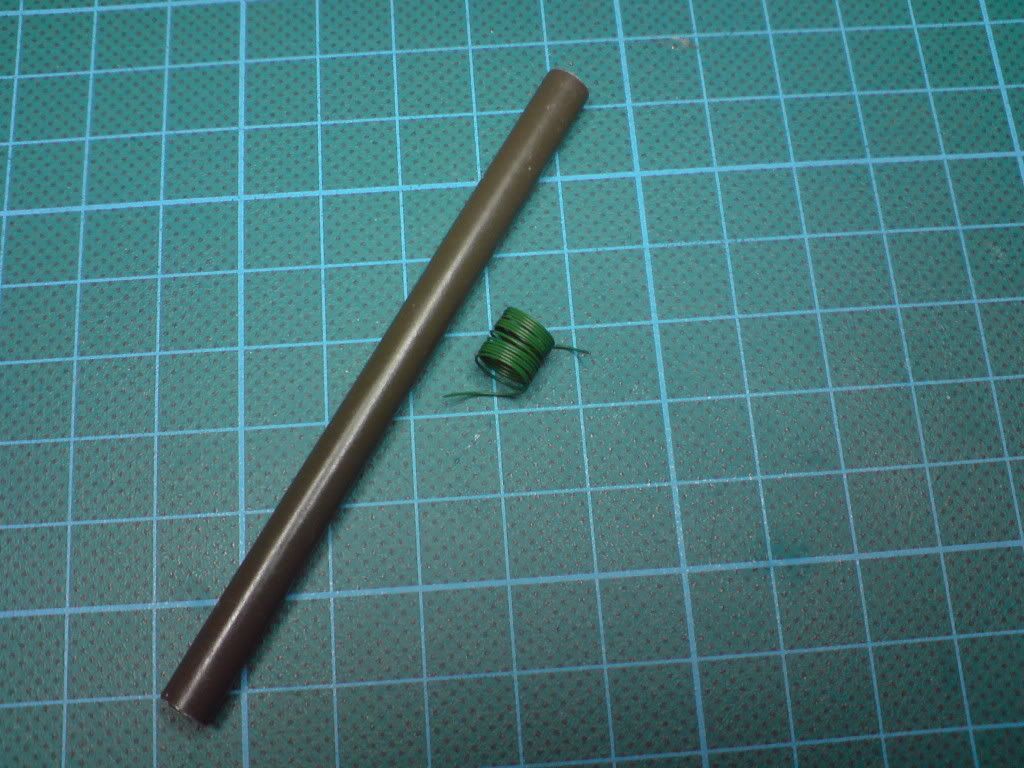
5. Spool the wire on the tube or drill bit.
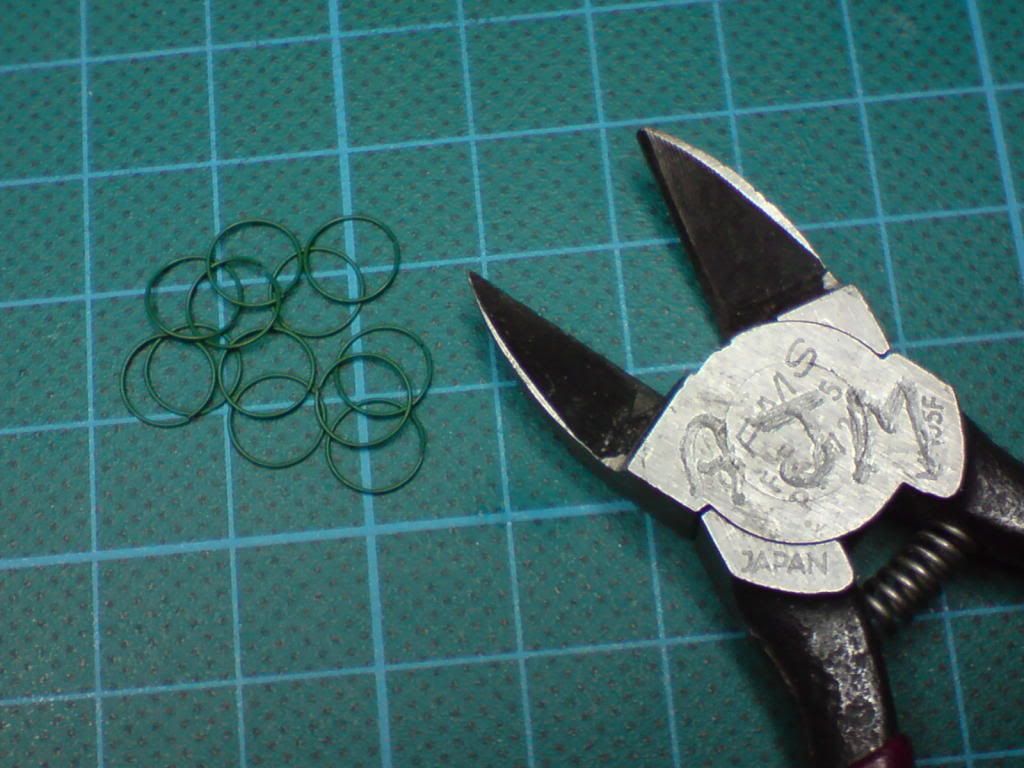
6. Use clippers to cut the individual rings.
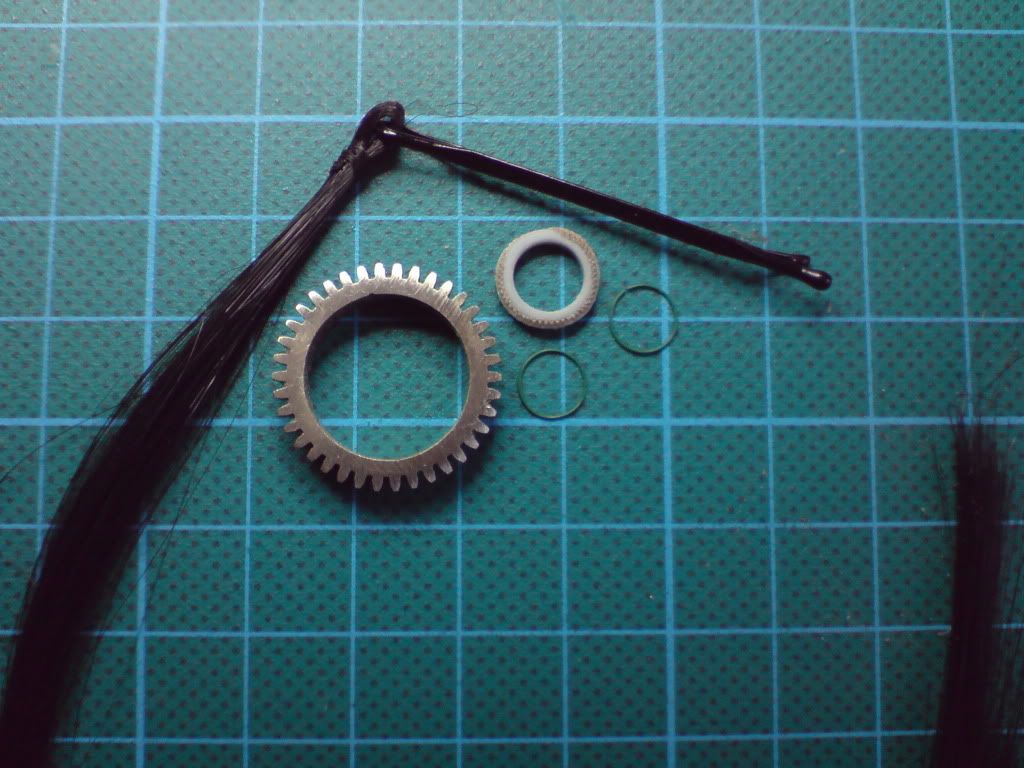
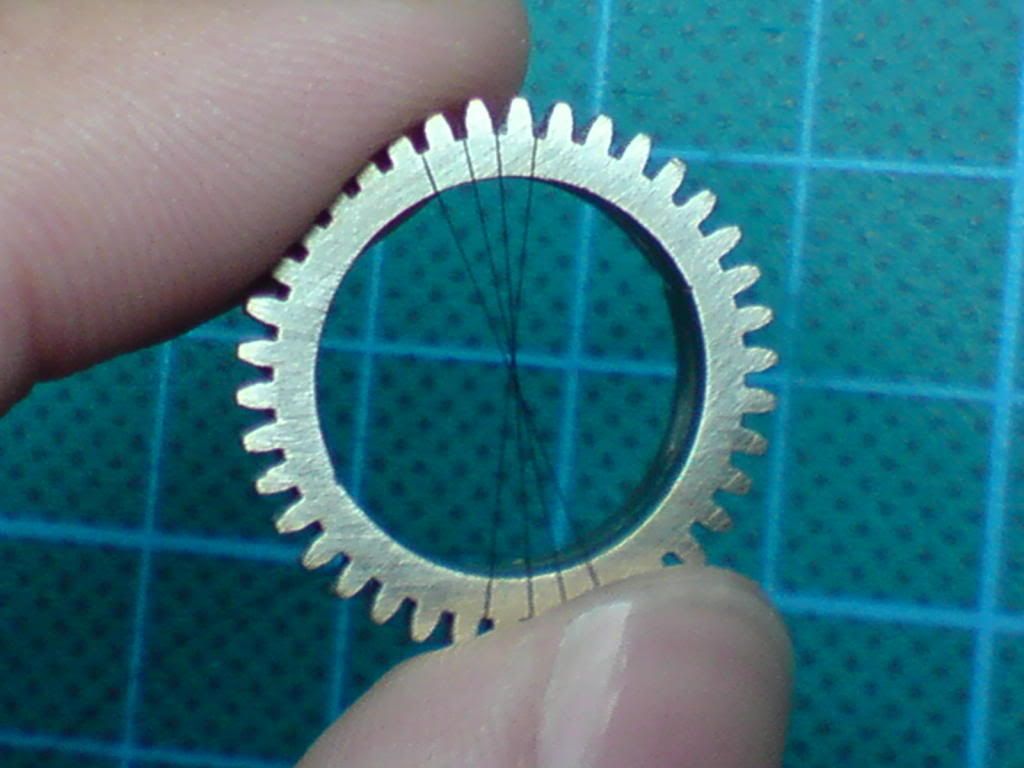
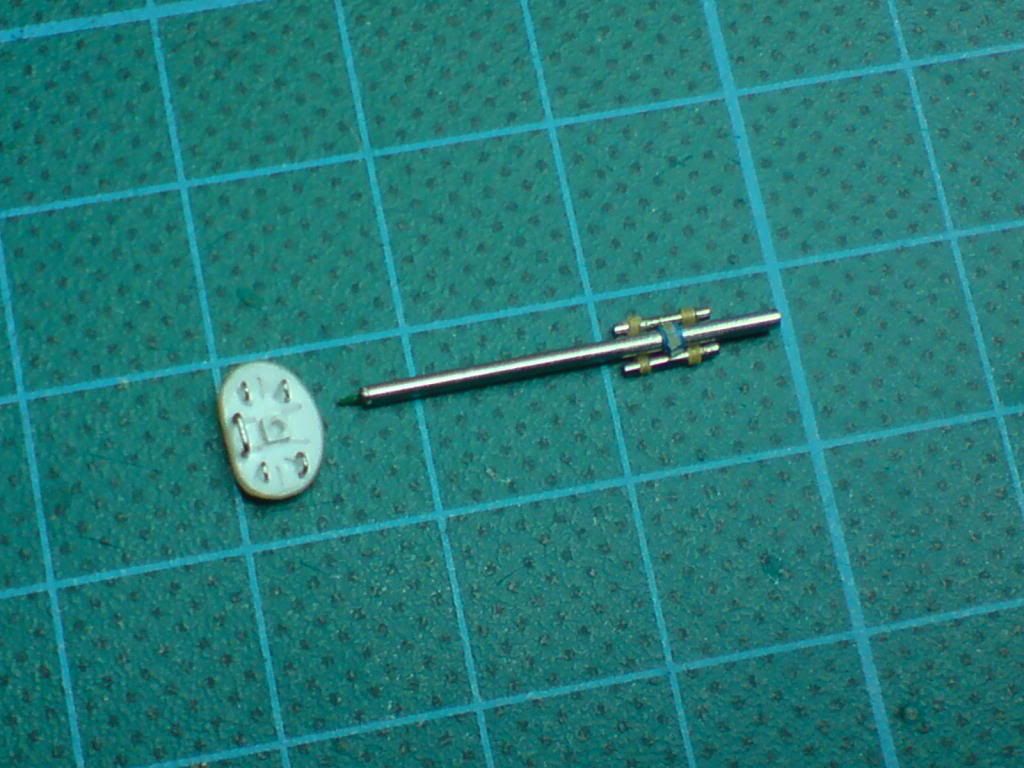
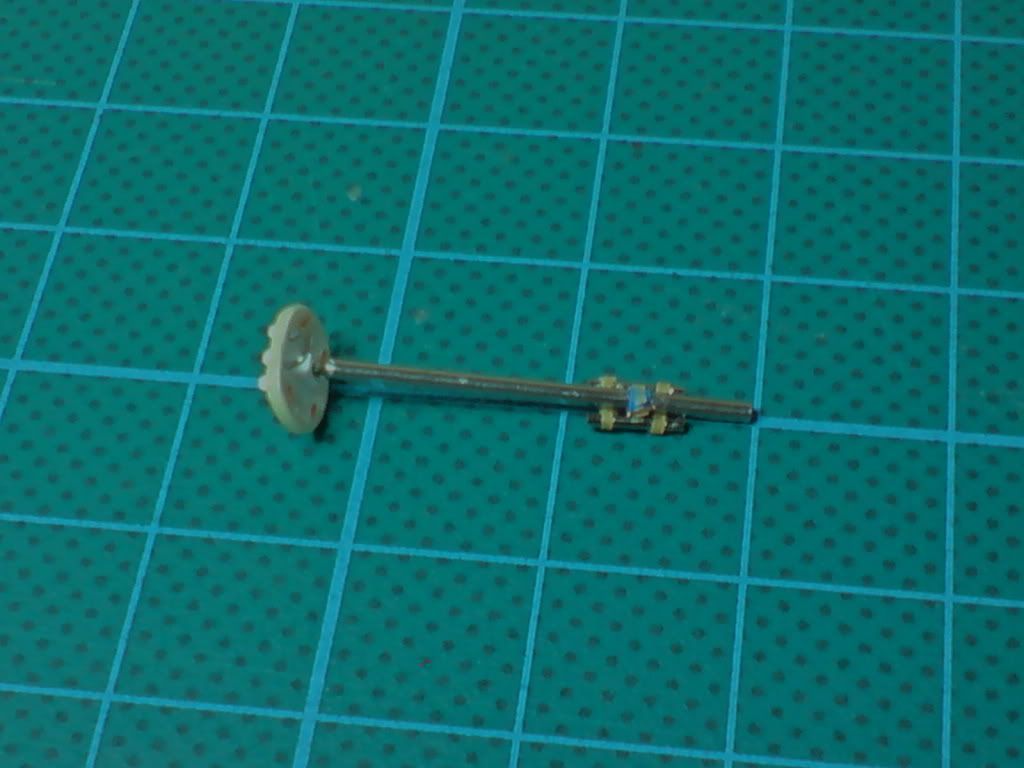
7. To make the spokes I use artificial hair (teenage girls attach it to their hair as highlights) and some brass gear as a jig.
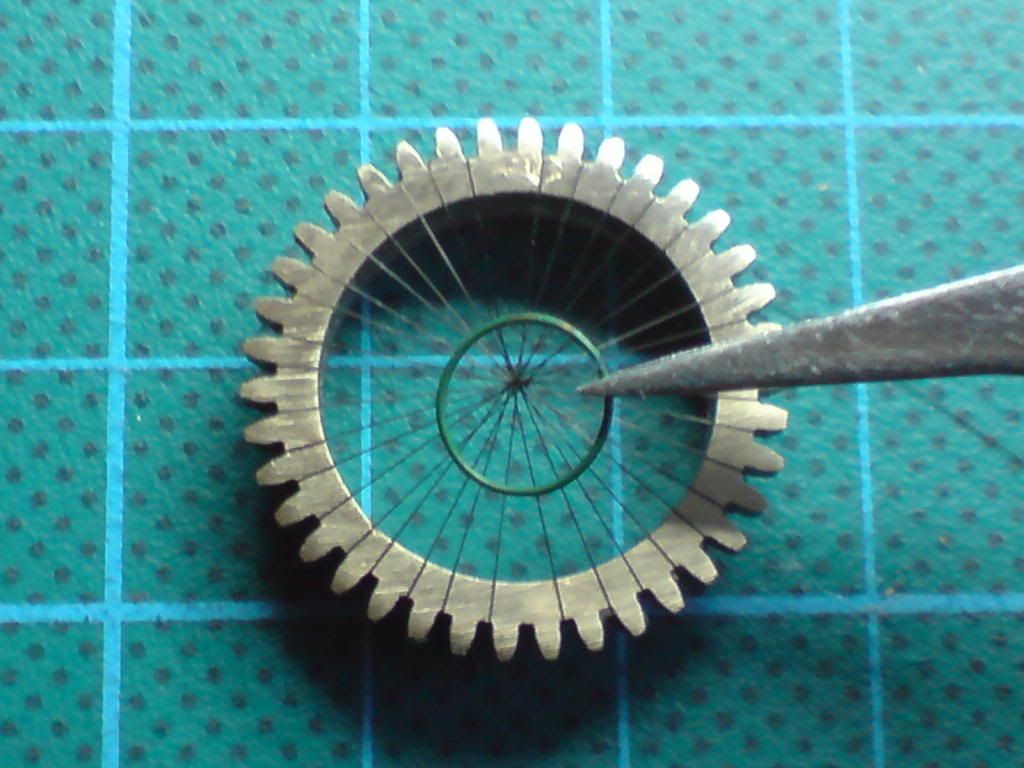
8. Run a single hair through the gear teeth so each run crosses in the center of the jig.
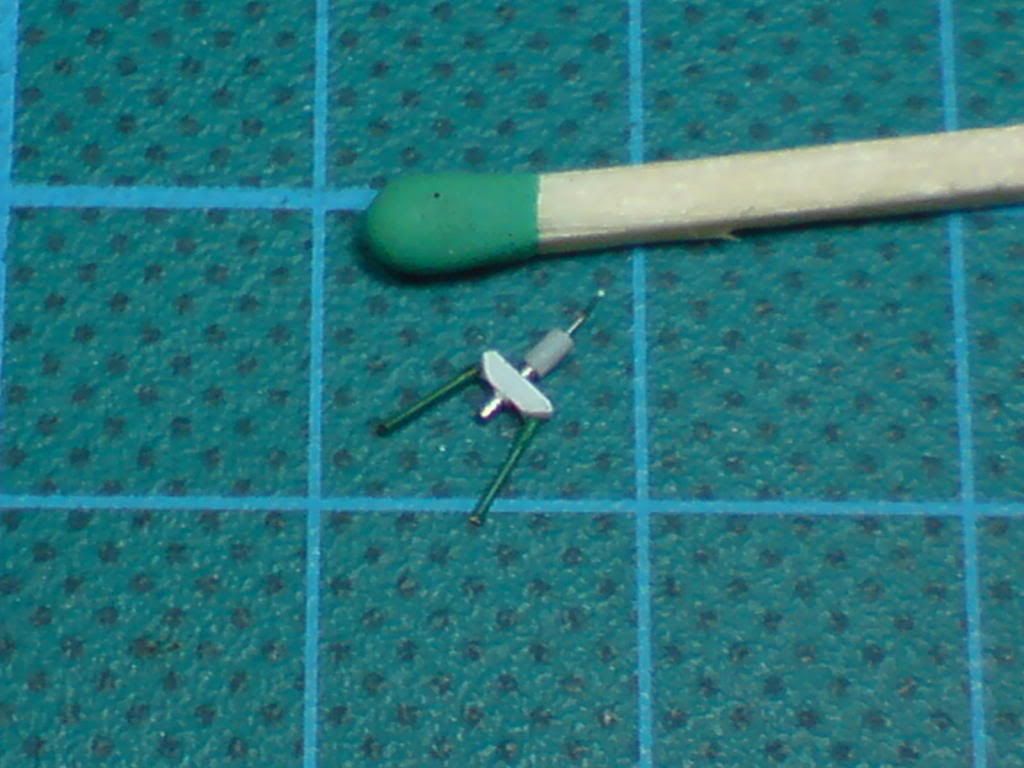
9. Glue the wheel rim ring from one side.
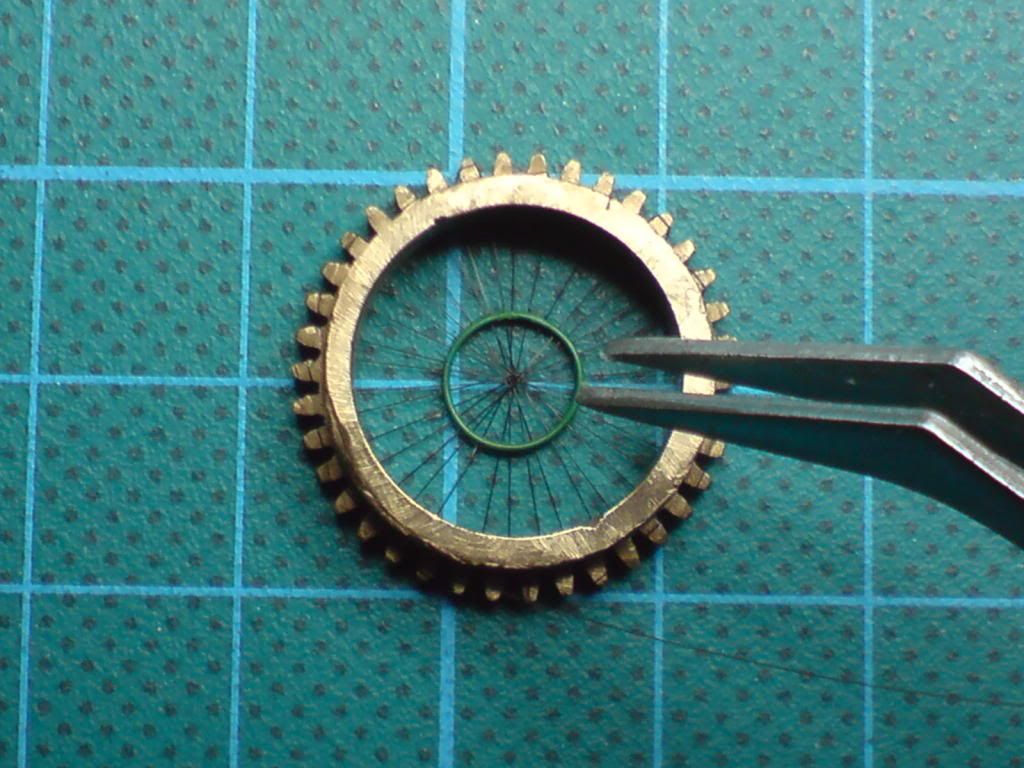
10. And from the opposite side as well.
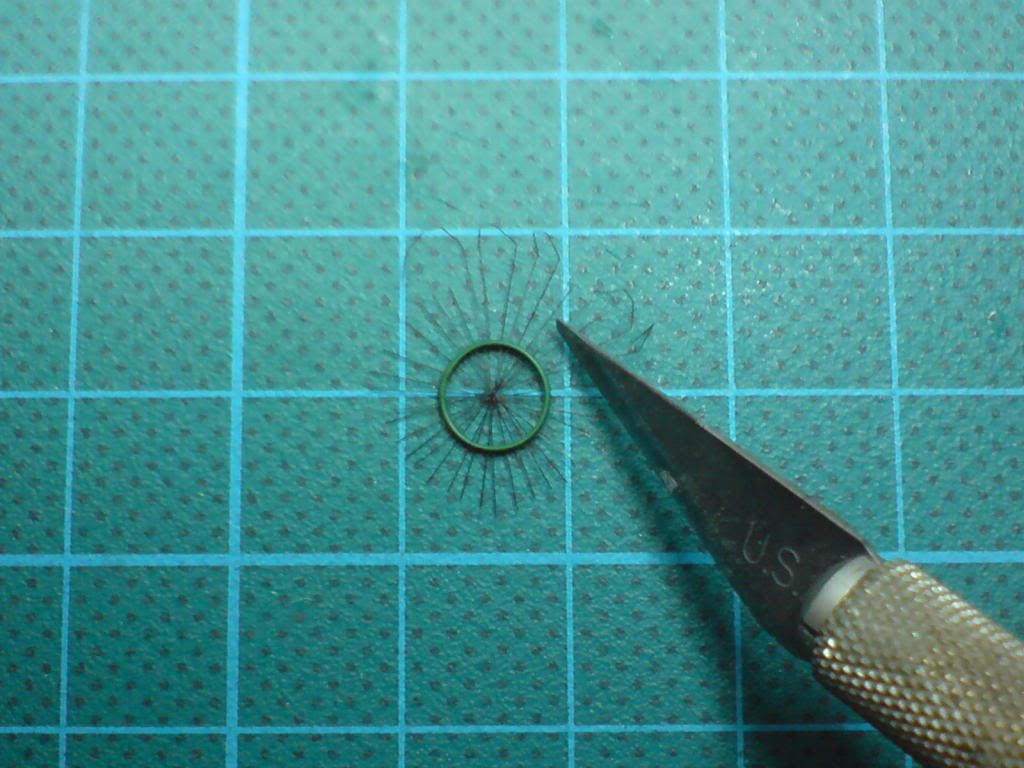
11. Cut the rim out of the jig and using hobby knife remove the excess lengths of each spoke.
12. Paint.
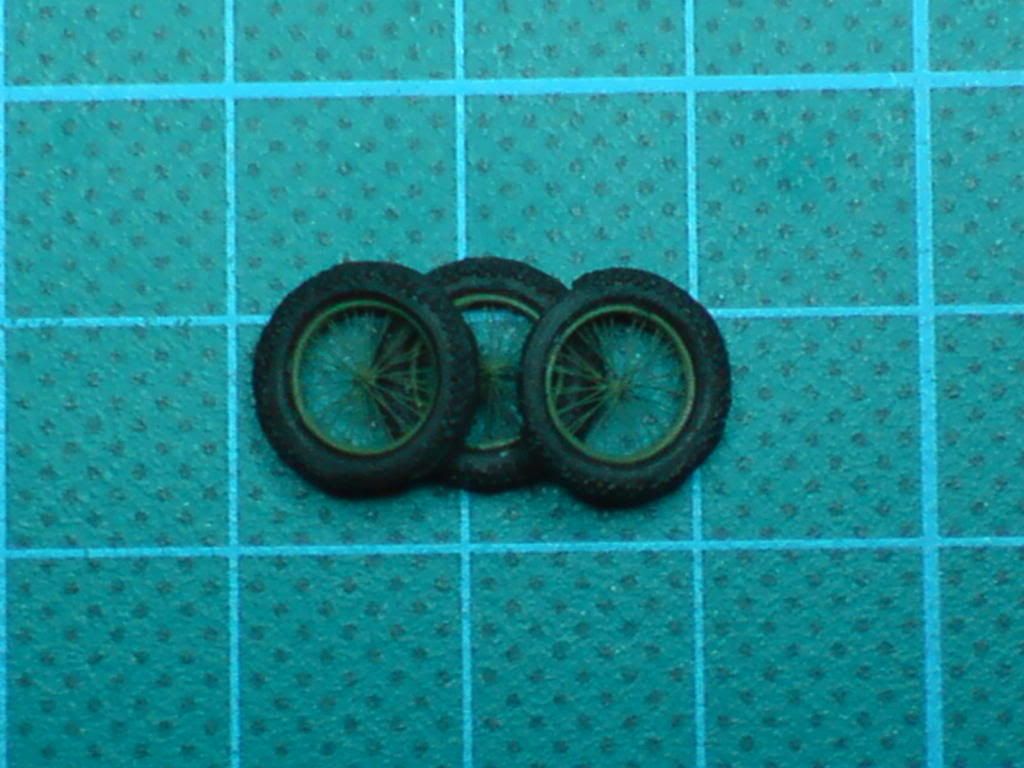
13. Snap the rims in the tires.
I didn’t know there is such a group build . I’ll have a look on the forum and see when it is. As soon as I finish this project I will join Sea Birds Group Build with scratch build of U-2 (Po-2 on floats) in 1:72. I’m not sure if I will finish it before November (end of GB), but will try.
No, not that! He will tear us both like a Tuzik warmer
Relax GFO - if I thought my access could harm anyone – I wouldn’t do it . Group Build is a great place to share experiences. Plus I can meet here other motorcycle enthusiasts who potentially could follow me and start building motorbikes in 1:72.
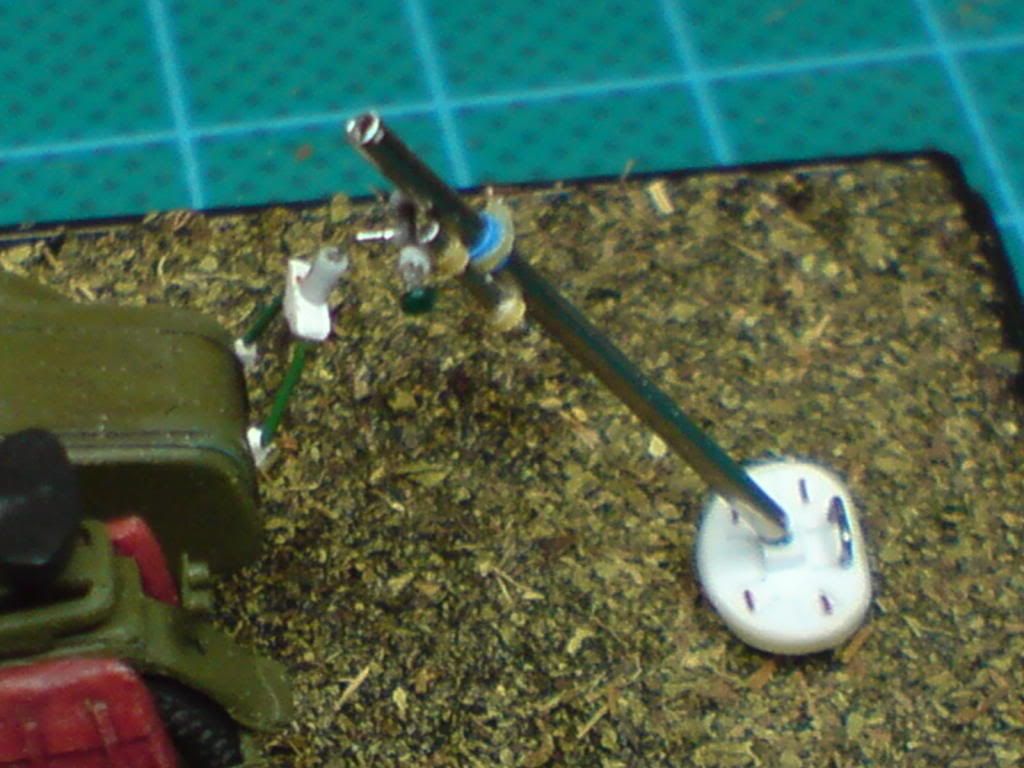
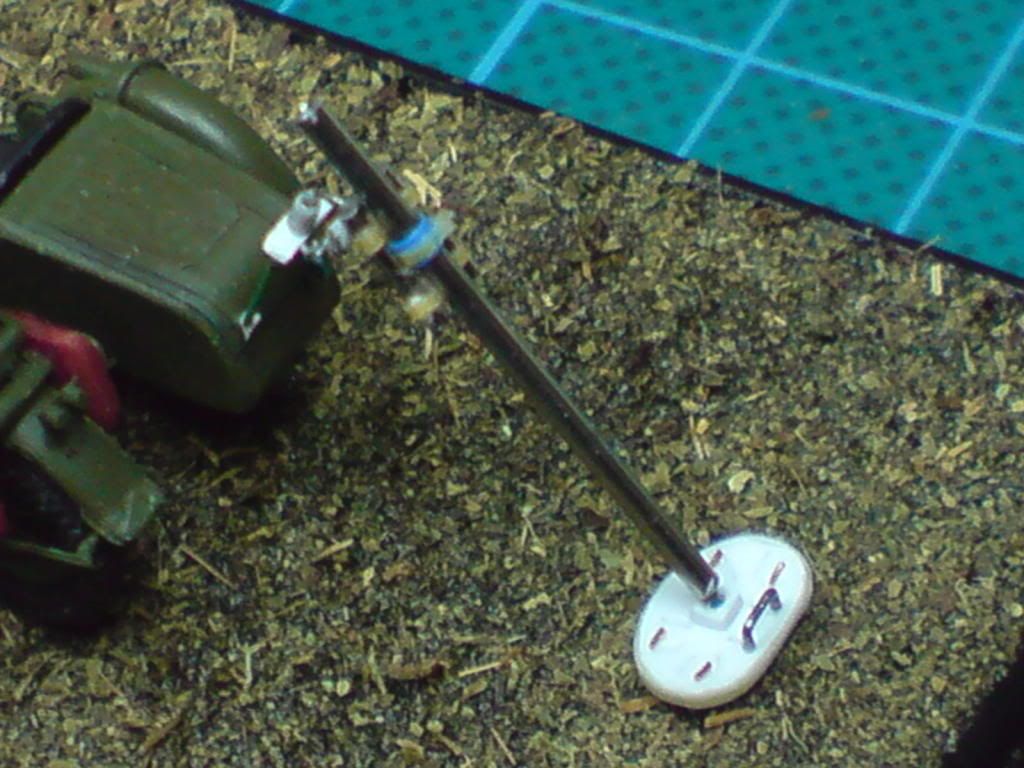
As the mortar is ready, it is probably the last part of this build thread. During the build I used photo reference found on the web. Today when I get back home I will paint it, stick it to the motorcycle and gently dust it to give a natural finish.
Вы не можете начинать темы Вы не можете отвечать на сообщения Вы не можете редактировать свои сообщения Вы не можете удалять свои сообщения Вы не можете голосовать в опросах Вы не можете вкладывать файлы Вы не можете скачивать файлы