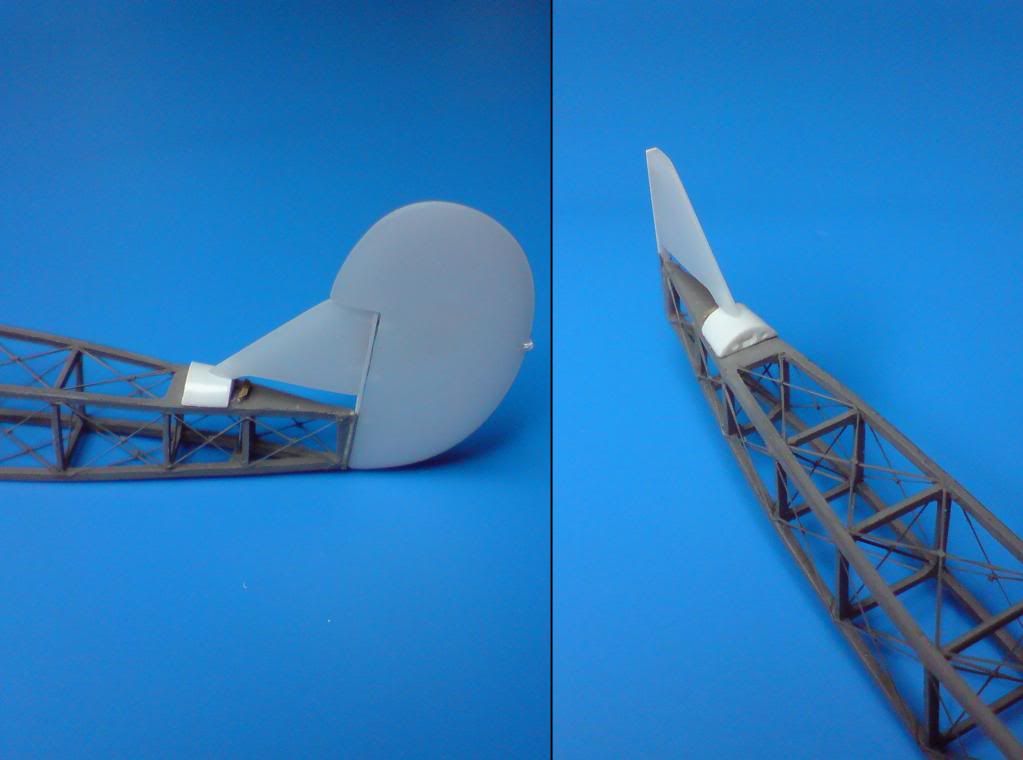
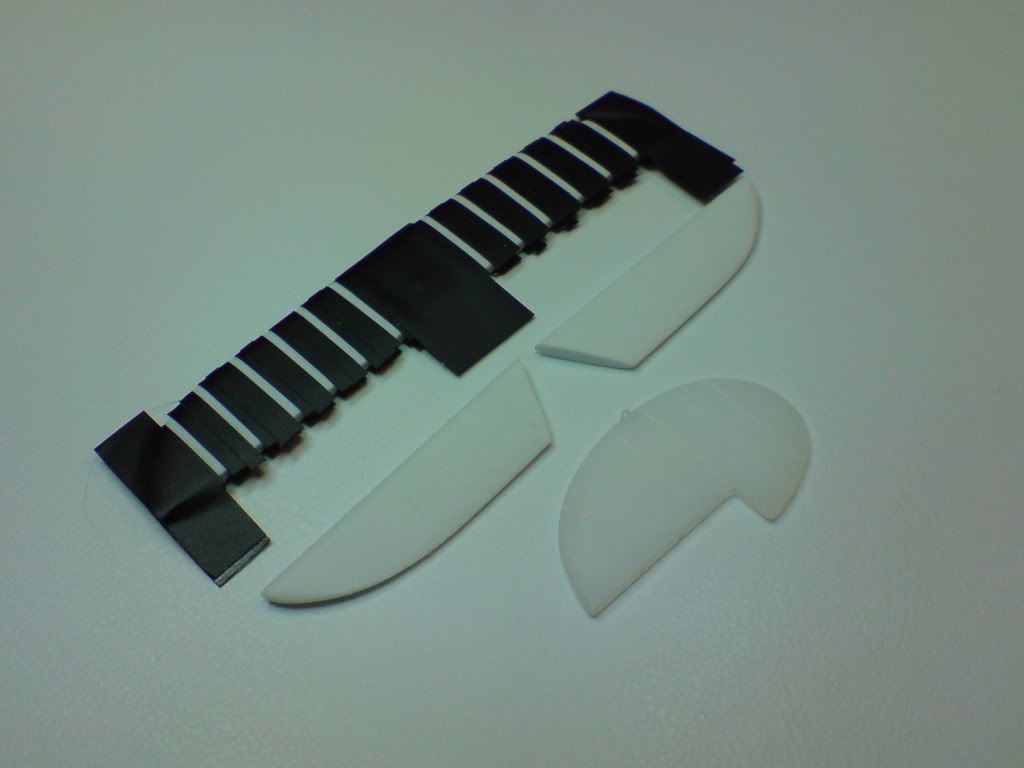
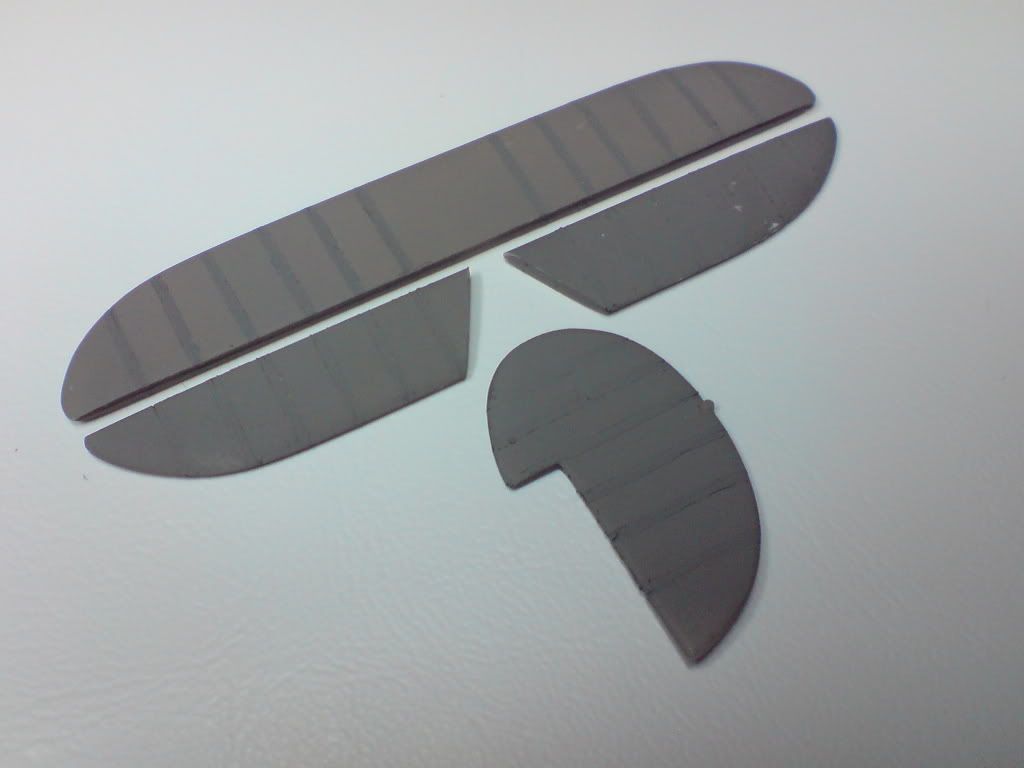
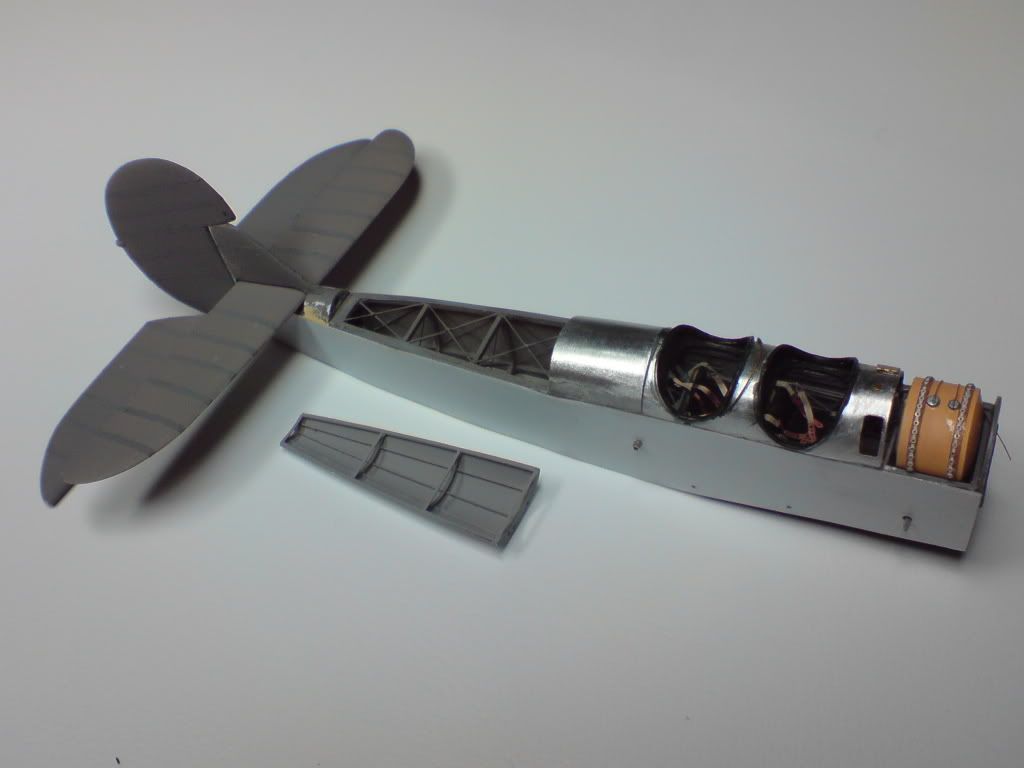
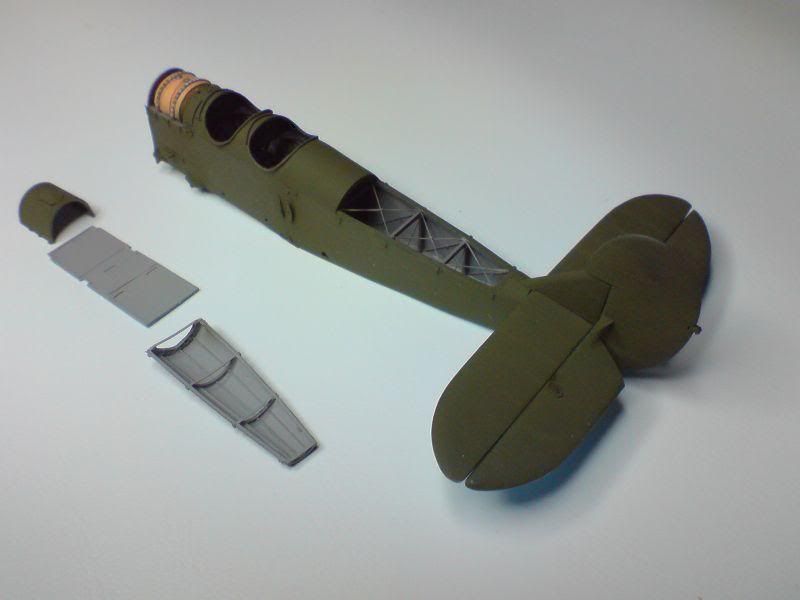
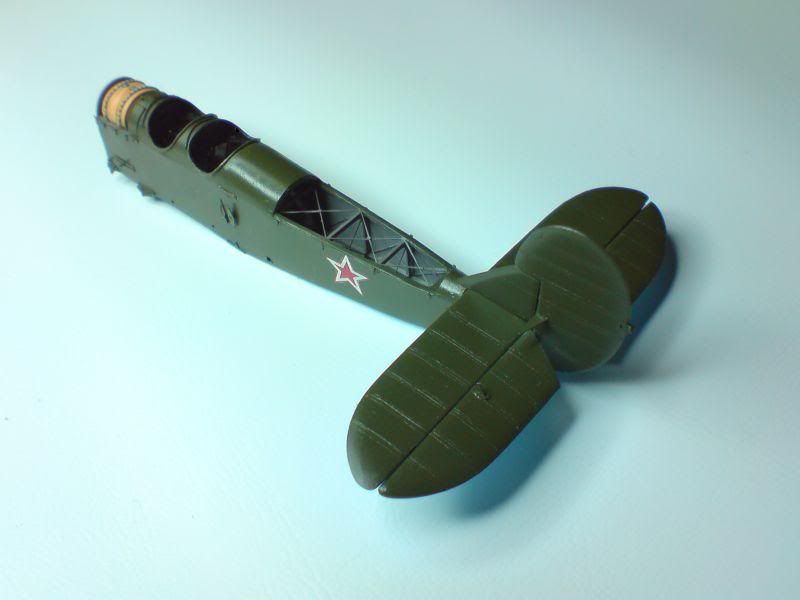
I’ve got the fuselage completed and it seems this thread needs a serious update. The tail is now finished but I don’t install it before everything is painted. It will be easier to paint every part separately and put it all in one piece once the top layer dries. Plus I won’t waste time on masking. I wanted to imitate the stripes of fabric which are applied on the ribs. Therefore I masked the horizontal and vertical stabilizers, the elevator and rudder and sprayed a couple of layers of flat black. Then removed the masking and sprayed overall base coat.
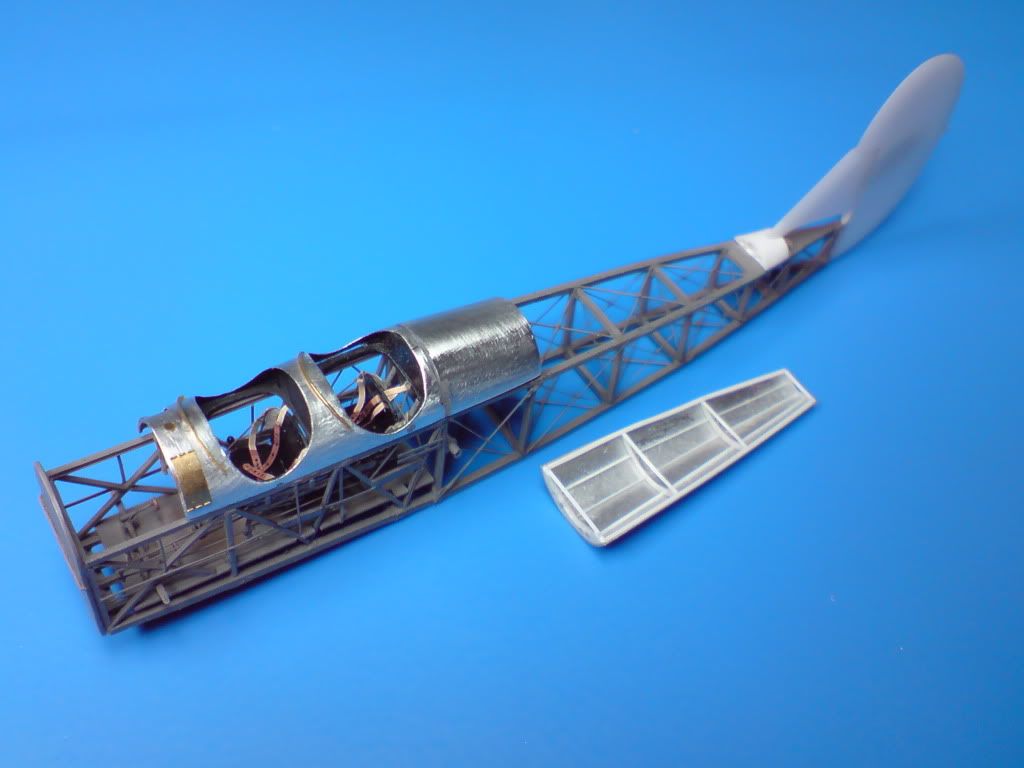
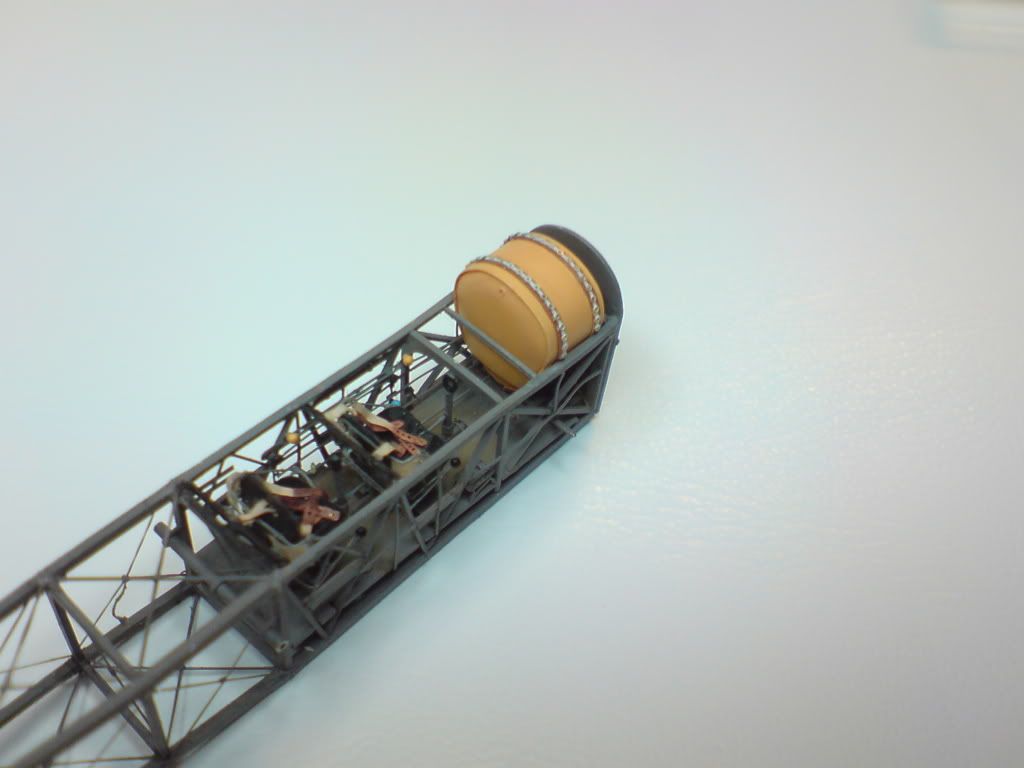
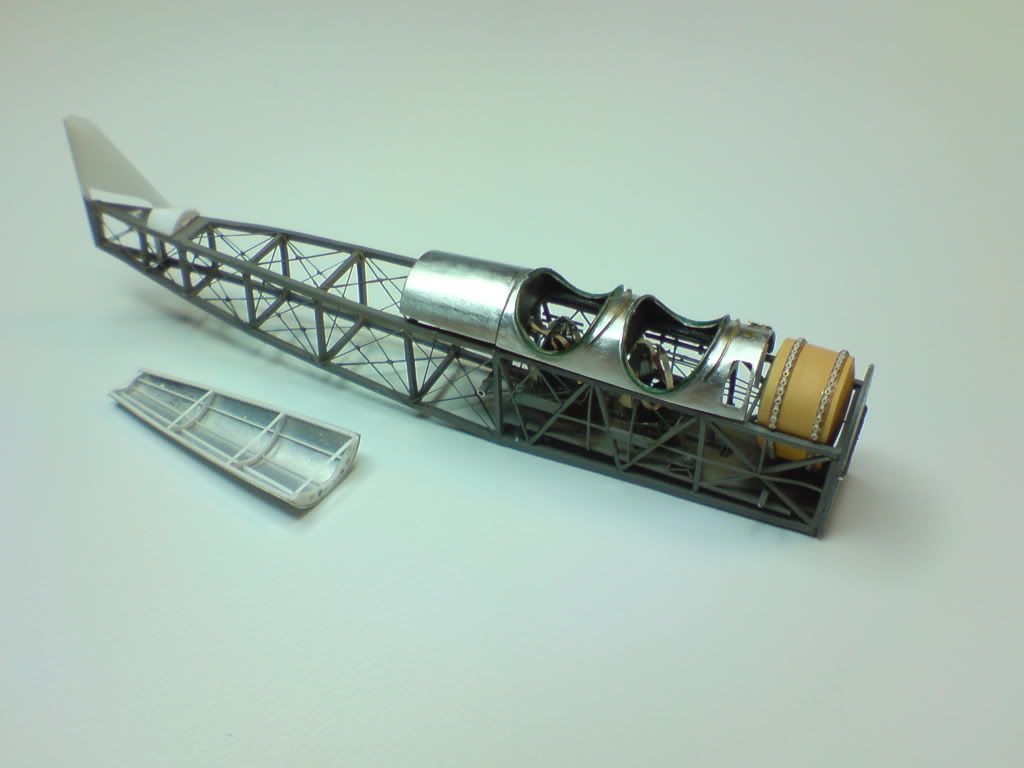
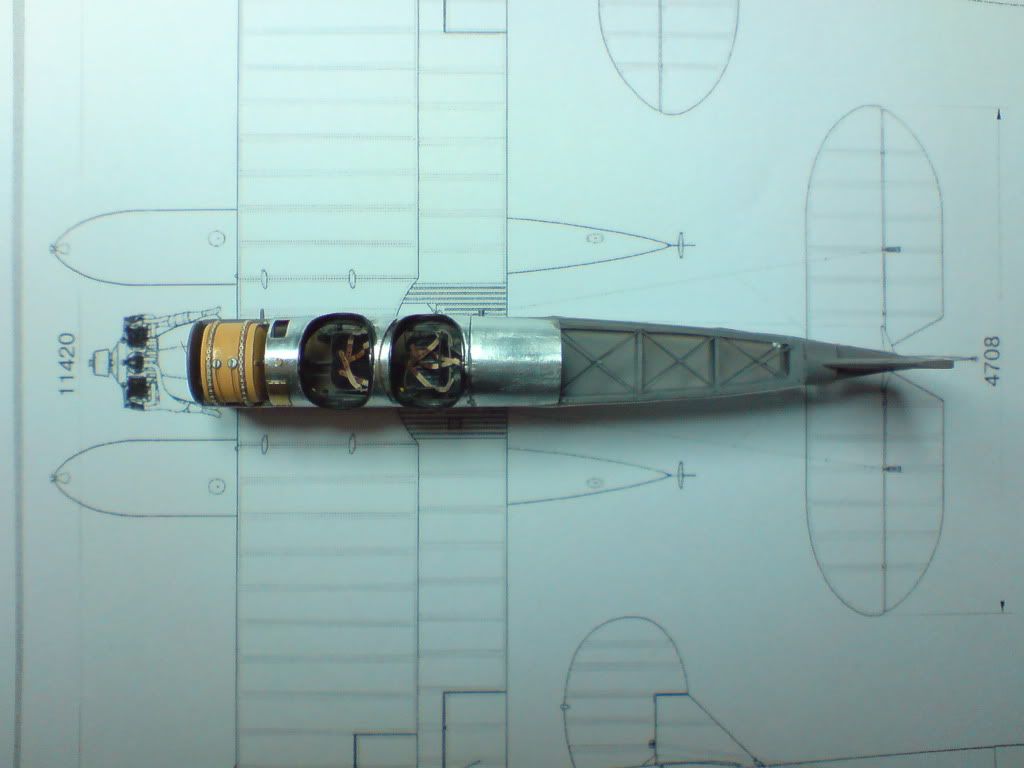
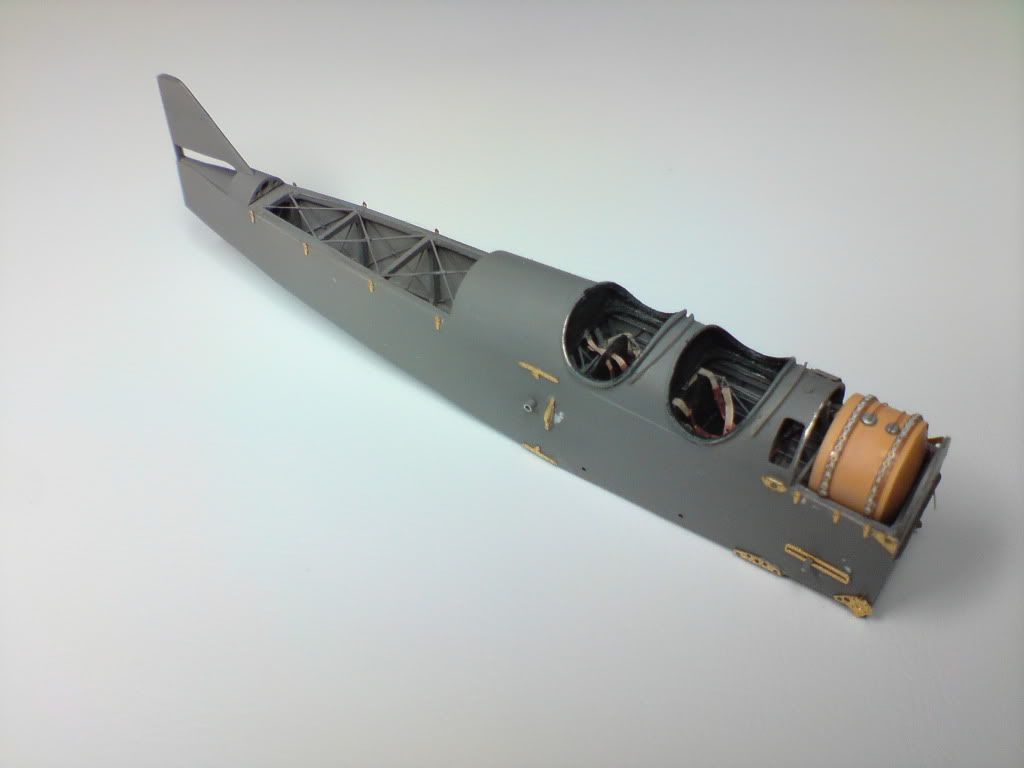
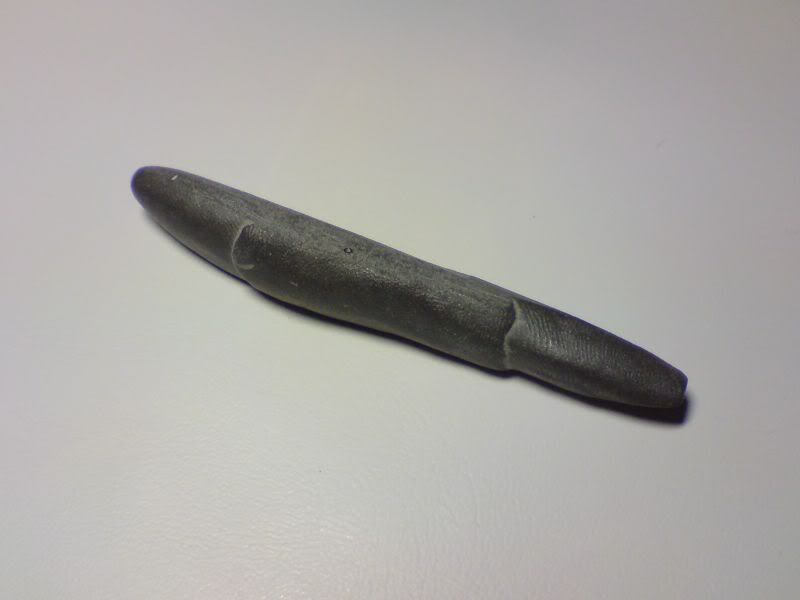
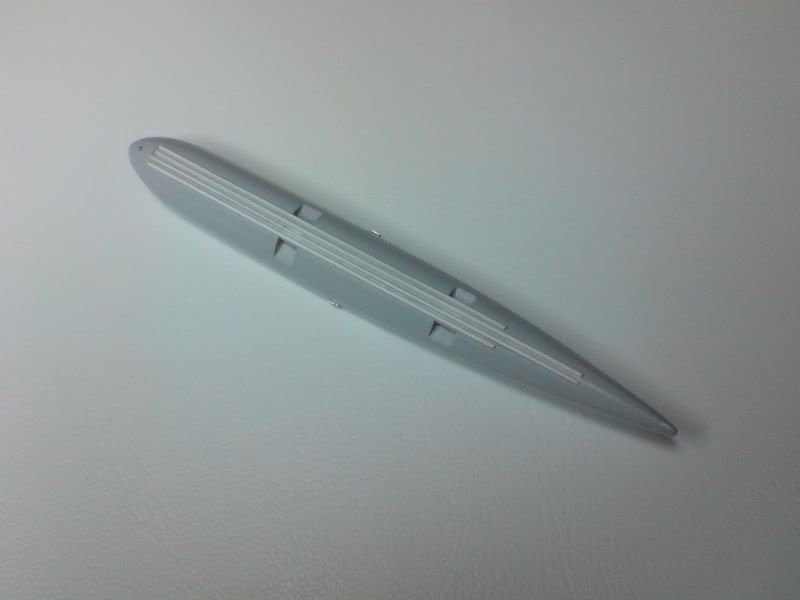
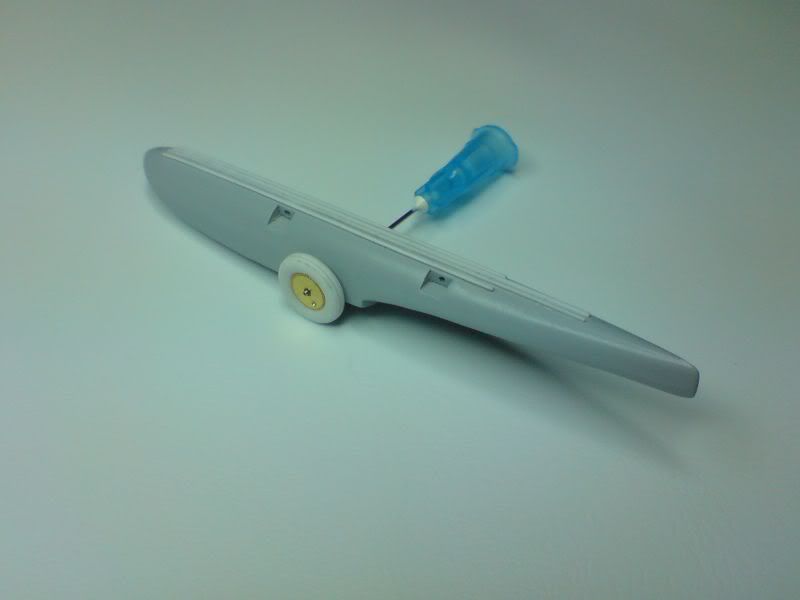
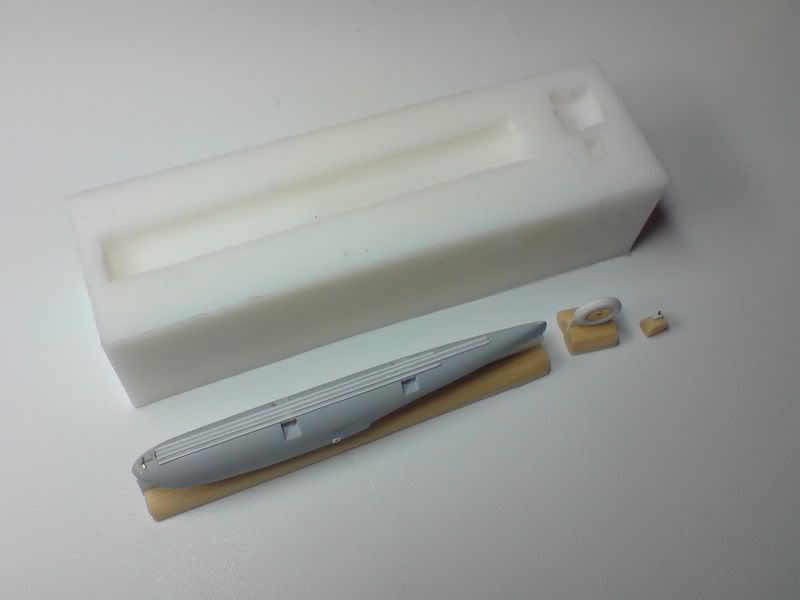
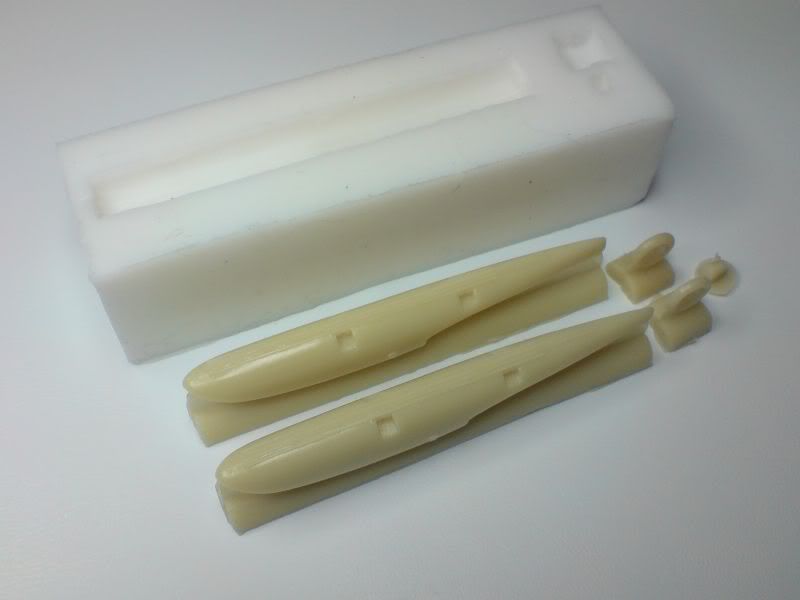
Then I made the fuel tank. This was very simple. It consists of three pieces of 3 mm styrene sandwiched to allow sculpting general shape. Then I wrapped it with stripe of 0,1 mm PVC film to obtain that specific edge of pressed sheet.
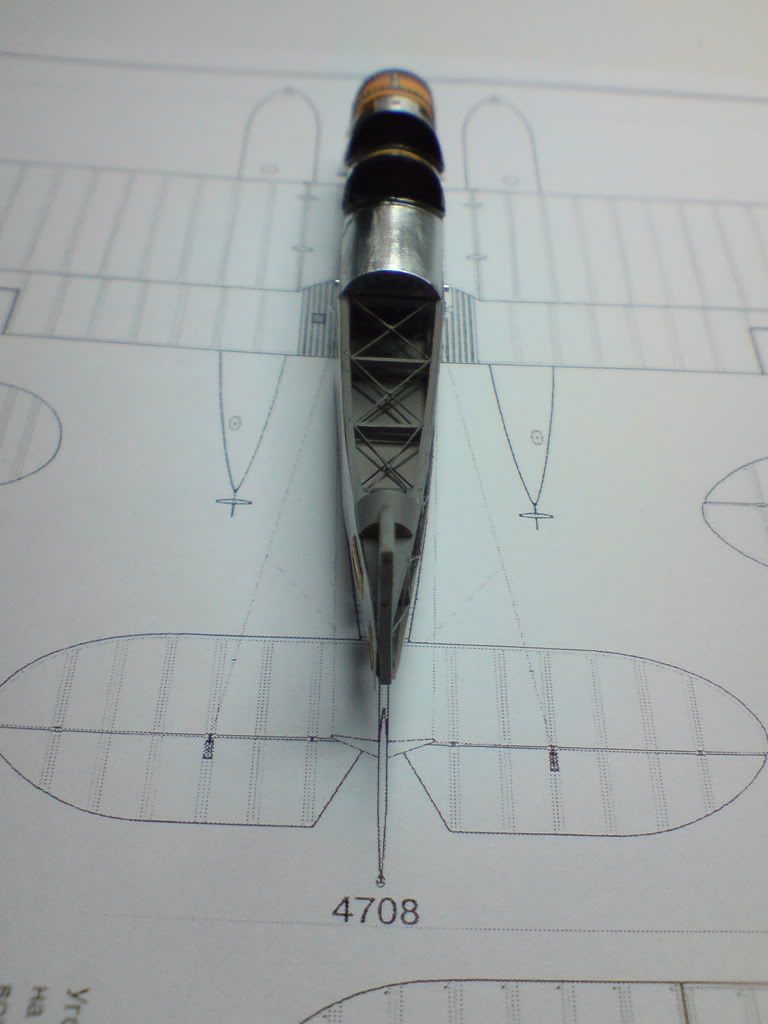
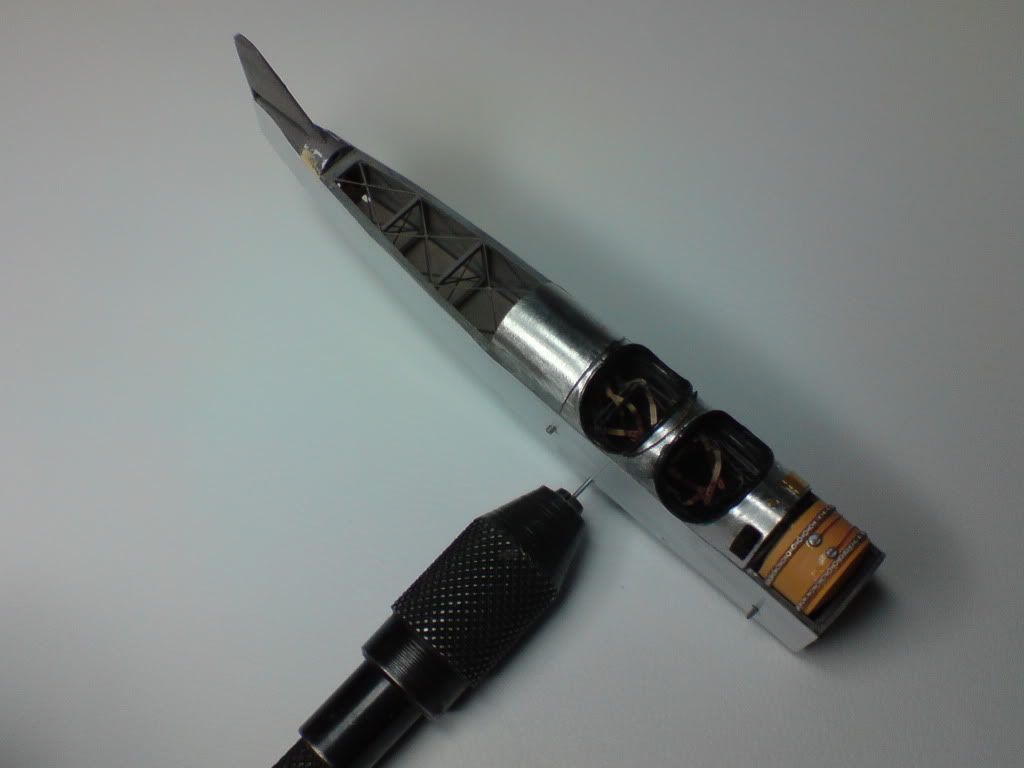
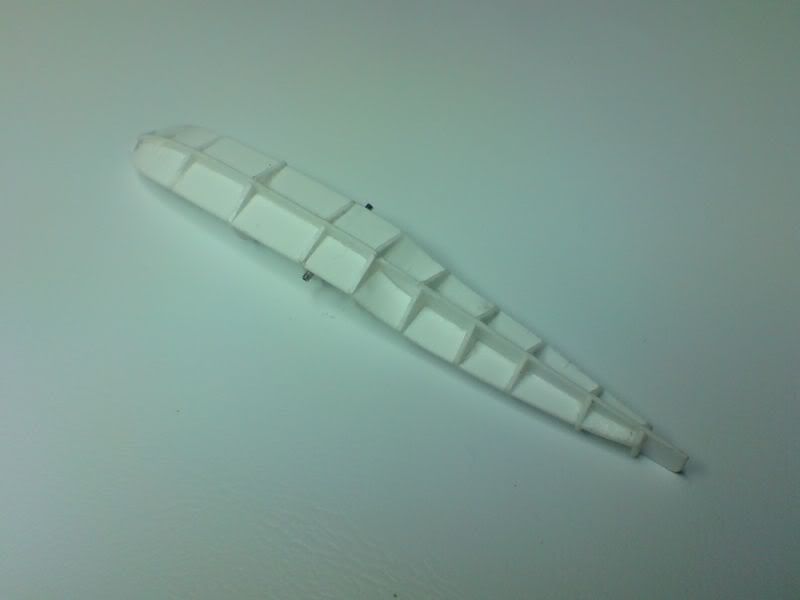
At last I could start the skinning. I did it with a bit of regret for the detail that is no longer visible but as I am an orthodox modeler I don’t do “skeletons”.
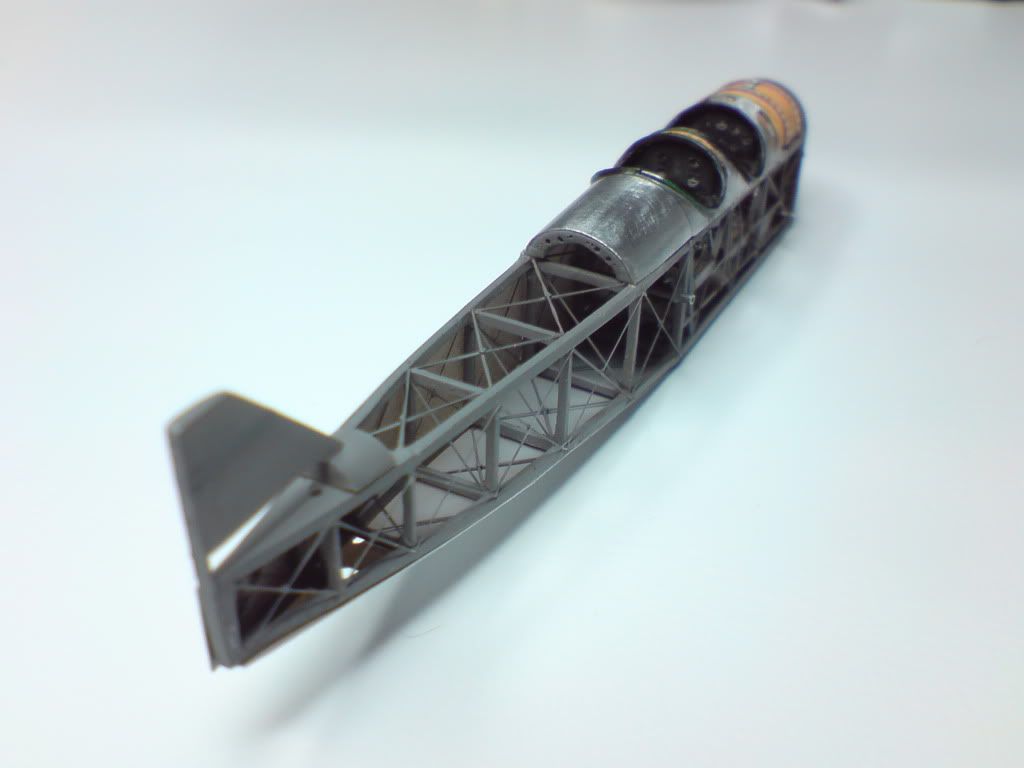
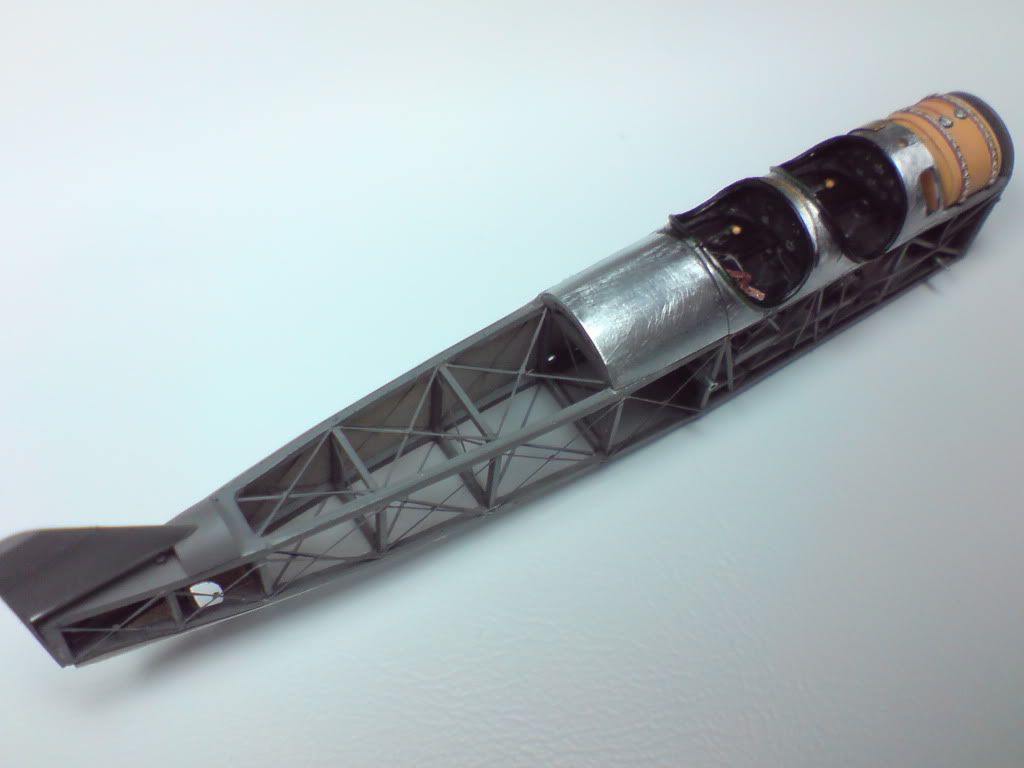
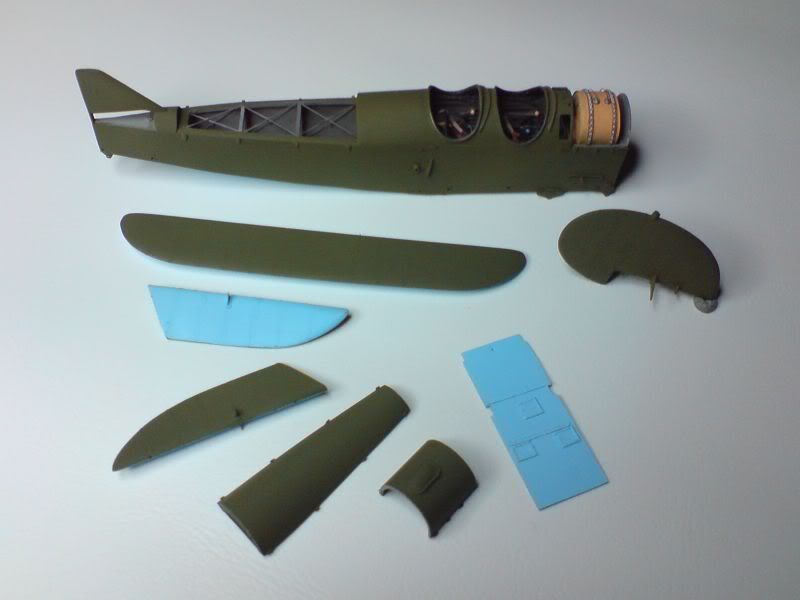
The assembly was being constantly checked against drawings. I even compared it to the kit part.
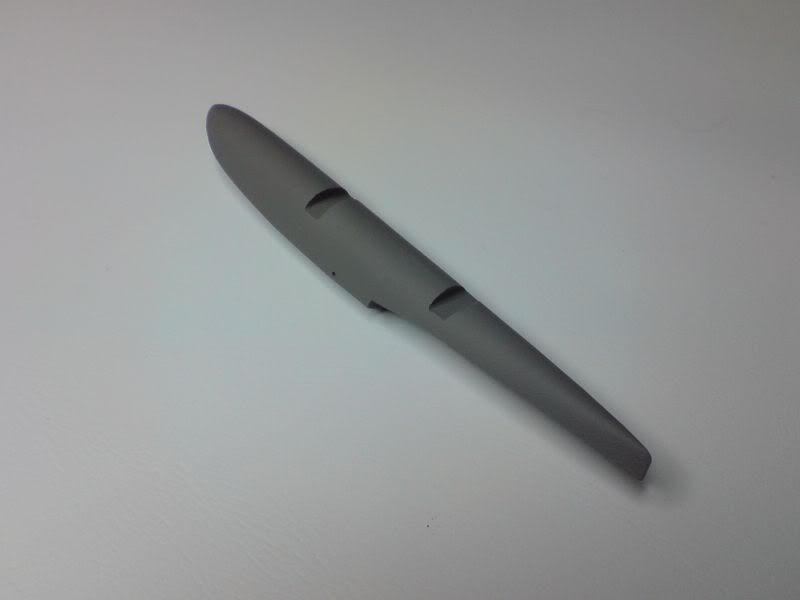
Then I just filled some minor gaps, drilled holes for bottom wing beams, sprayed the primer to check filling and sanding, and used the PART photoetched exterior detail which in most cases is very accurate.
Thank you very much for your motivating comments. Do you know if Rusavia's replica has that opening in right bottom wing (for the bomb sight)? I've got one picture showing it's belly but I am not certain if there is that square hole in right footway.
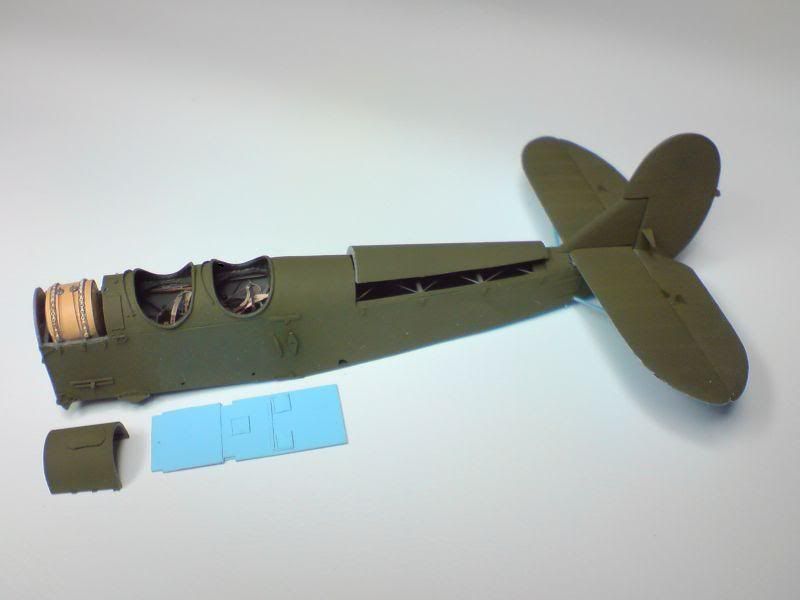
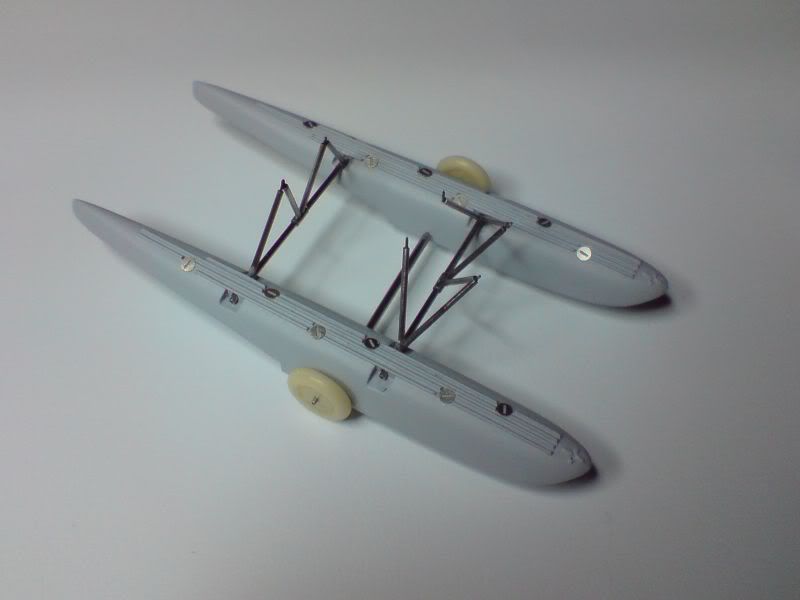
Now I'm working on fuel tank cover, belly cover, tail struts and smoe minor detail I have to do before applying final colour.
Thank you gentlemen- your comments are very motivating!
But I need some help :
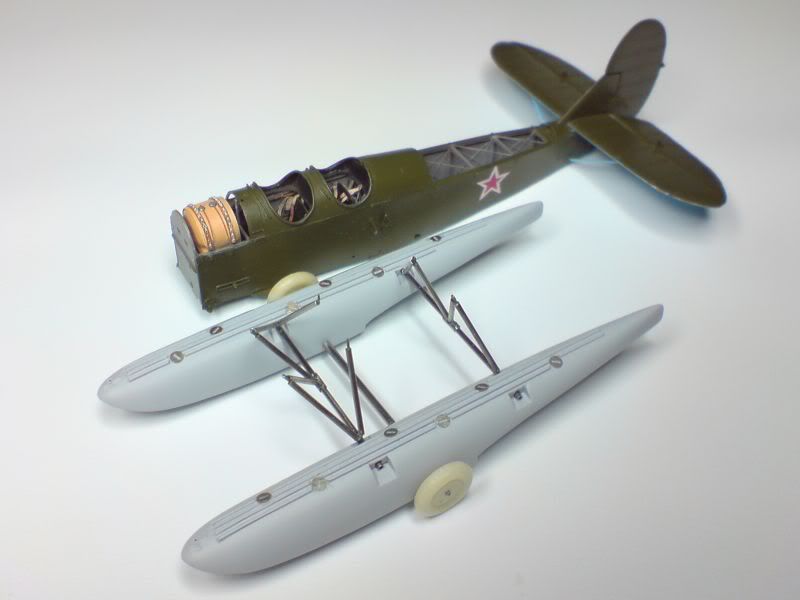
Has anyone got the painting scheme of this version? Looking at Rusavia’s replica I chose to use Vallejo Model Color 70890 Reflective green and 70961 Sky blue. But most of all I wonder about national insignia. Did it have red stars on bottom wings? The decal sheet from that vintage kit I’ve got has 4 big stars (probably for top and bottom wings) and 2 medium size stars (for fuselage sides), but unfortunately the instructions are not reliable... All of the stars have white rims. Maybe you have some more information like serial number or service notices.
Петр, если звезды с ободками, то это уже конец 1942- начало 1943 г.г. Схема стандартная для Советской авиации. Звезды на нижних плоскостях крыльев, задняя часть фюзеляжа и киль. На верхних плоскостях звезды не наносились из соображений демаскировки (если я правильно вопрос понял). По камуфляжу По-2, особенно поплавковый вариант, я не подскажу... пока что. Посмотрю свою литературу и свяжусь.
Thank you nevo for your help. In the meantime I searched through black and white pictures I’ve got and on this basis I decided to apply decals on the rear fuselage. I don’t think I have a proper size star for the rudder fin… But still before painting I finished the tank and belly covers (which will be displayed aside finished model). I painted all the pieces before assembly. It saved me a lot of masking and eased the painting process (in some cases I could paint “free hand”).
nevo - But you've got a simillar project on your work bench - I really admire the paint job Максим Былкин - We all learn from each other - don't we?
Y.Alex - No, both wings will be fully covered. I'm not a fan of modeling "striptease", but my friends are working on me to persuade "the necessity of stripping models in modern modeling"
Вы не можете начинать темы Вы не можете отвечать на сообщения Вы не можете редактировать свои сообщения Вы не можете удалять свои сообщения Вы не можете голосовать в опросах Вы не можете вкладывать файлы Вы не можете скачивать файлы